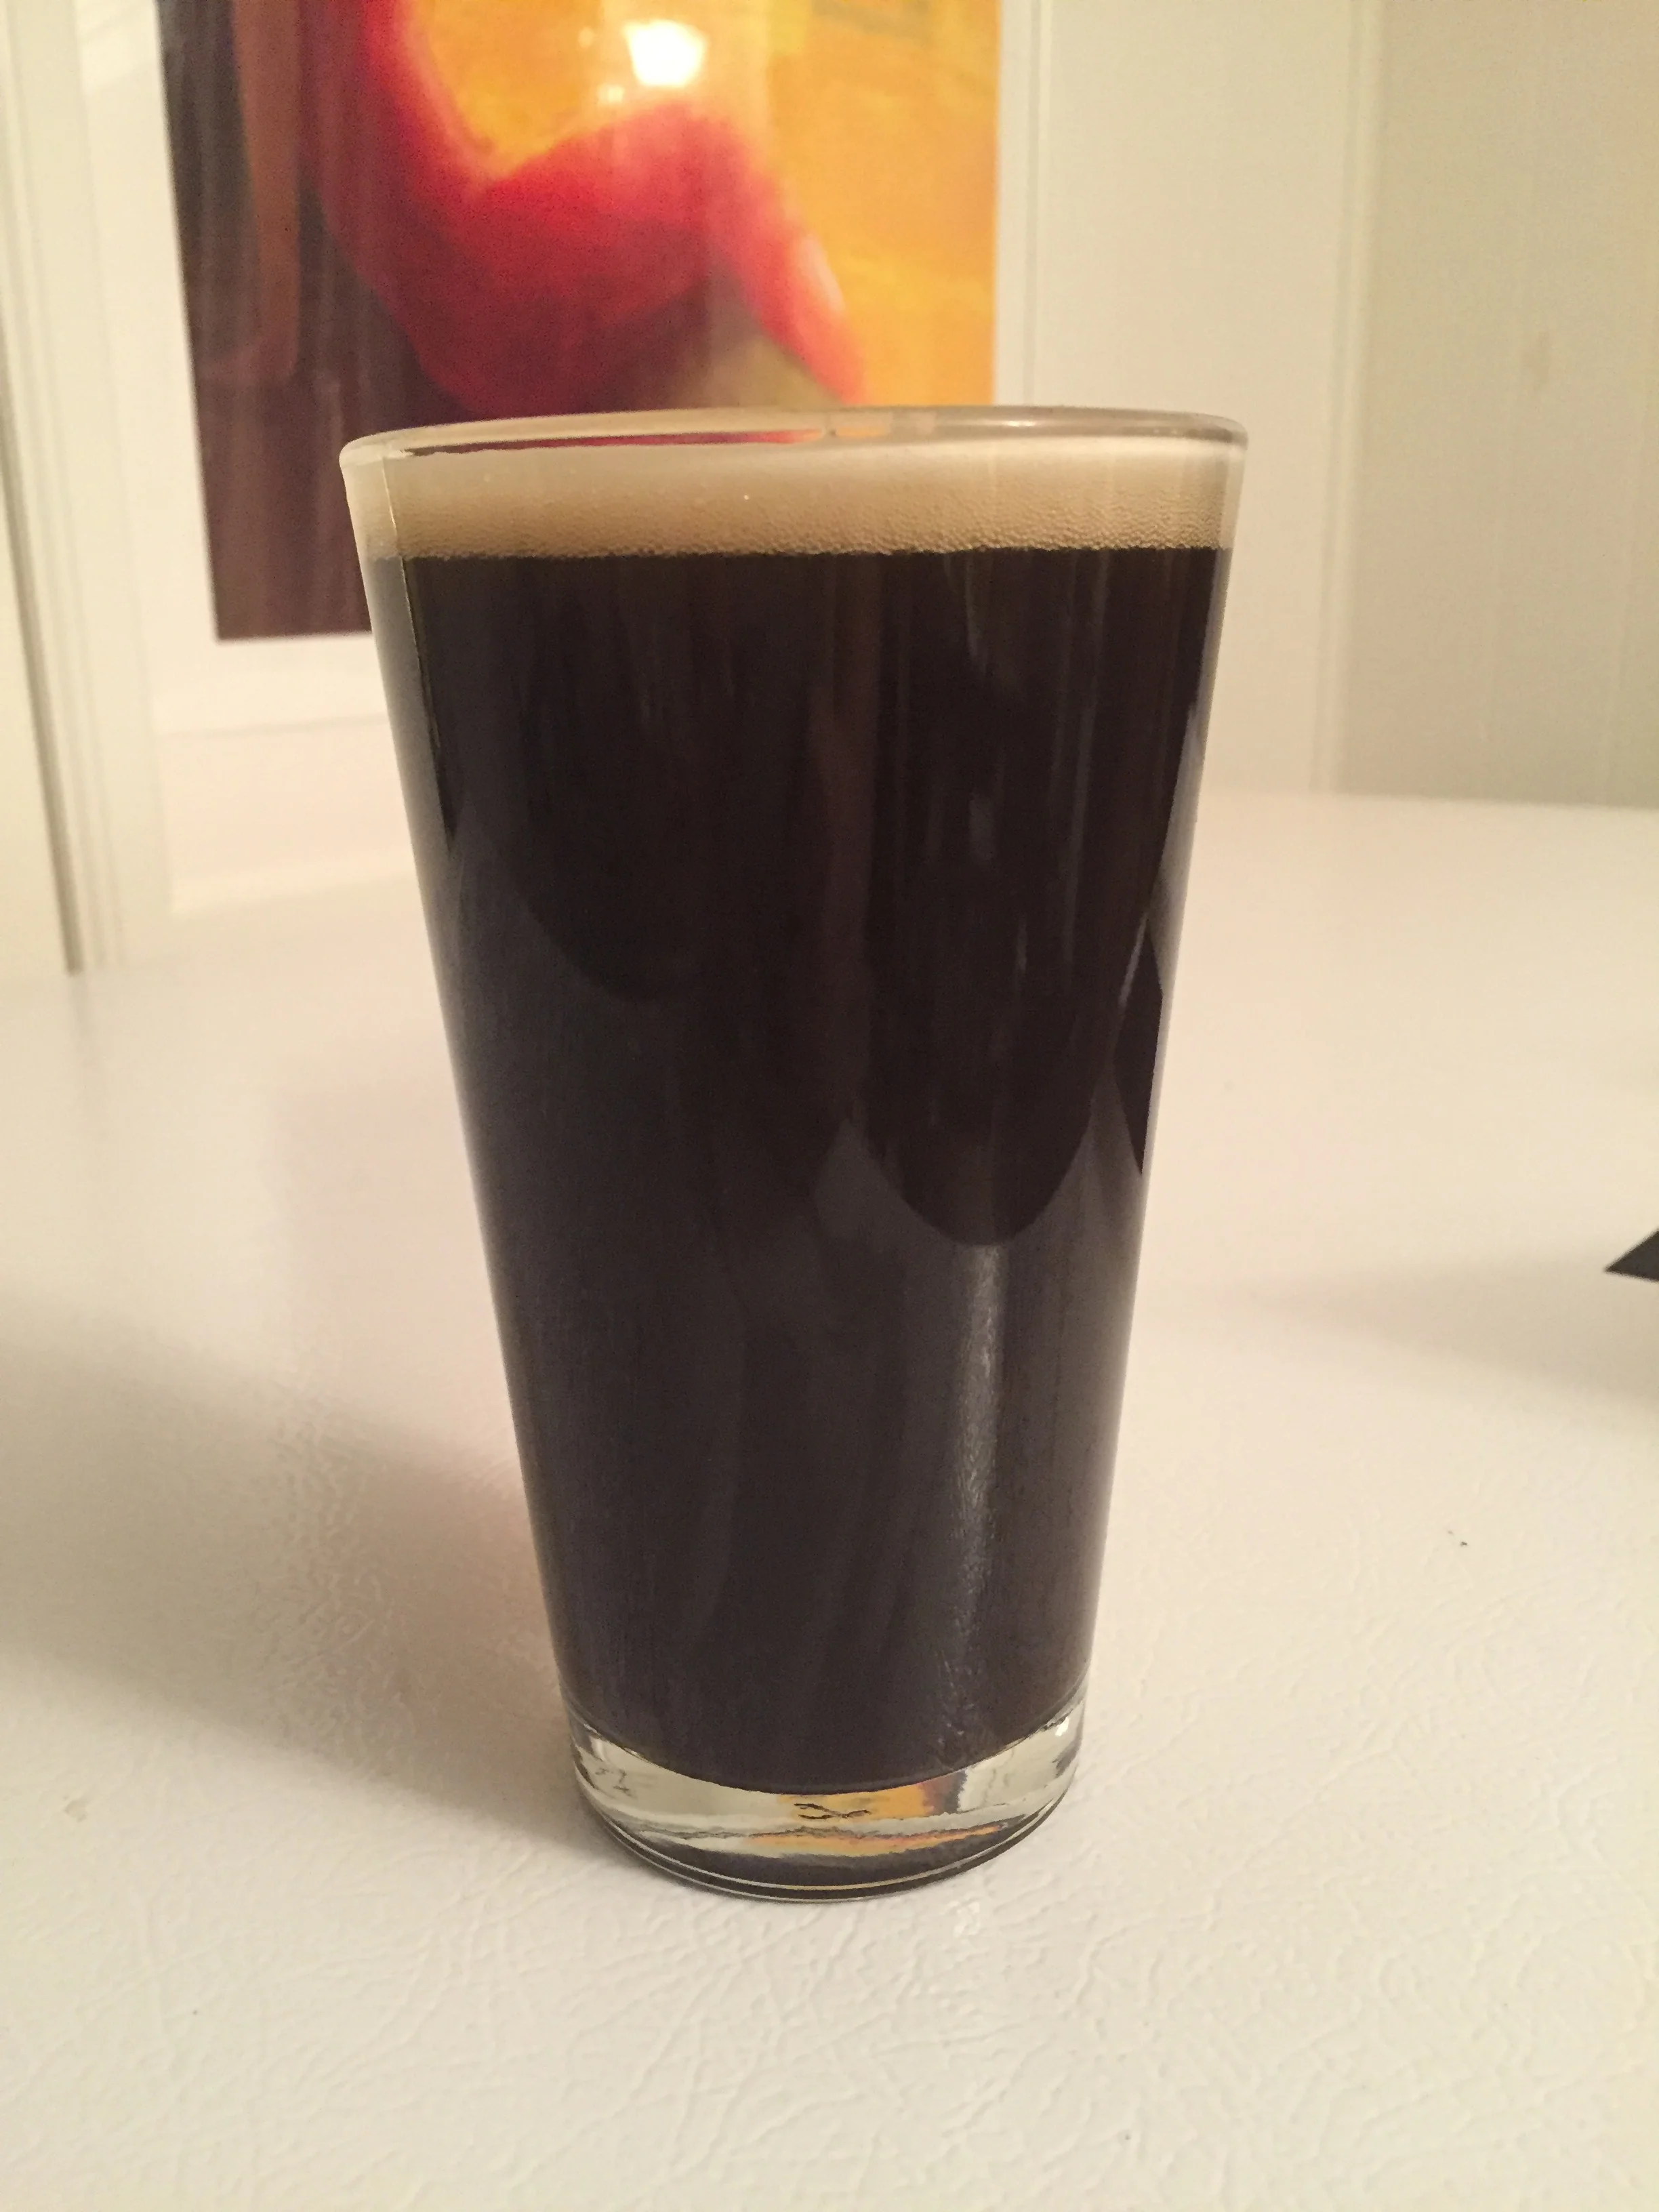
Zoom Black Session IPA

Happy Lunar New Year, we are back. It was a busy end of the year for us, got married, drank and ate through New Zealand and Australia. When we arrived home we discovered our bar was running a bit dry. With the exit of our first houseguest and the soon arrival of 4 others I needed to get a new keg on tap fast. 

Over our long absence from updating the blog, I have been reading Yeast by Chris White and Jamil Zainasheff. It's a little heavy on the bio/technical side of yeast but has ton of great and useful information. My bottom line take-away from it was that the best thing a homebrewer can do to improve their beer quality is temperature control, the second best thing is a correct size of pitched healthy yeast, and the third is dissolved O2 levels before fermentation. 

I had 6 days to make a beer and I wanted to finally make an actual sessionable beer. I was aiming for 3.5-4% ABV for a 5 gallon batch, interesting grain backbone, and a ton of hops. For yeast I went with the WLP 090 super san diego for a more clean IPA profile. I haven't used this yeast since I first started brewing and it also come highly recommended for doing speedy brews like this.

For the black I used half a pound of Carafa III special dehusked. I think steeping it for the full 90 min mash may have been a bit much, I probably could have pulled the same color without the grain bitterness for adding it in the last 30 minutes of the mash. 


Zoom Black Session IPA

Ingredients:

3.22lbs 2 row

.5 carafa 3

2.18 Munich

1.1 pils


.5 Apollo @60 18.3aa

1 Denali @15, 15.4aa

2 Hbc438 1@5 16.6aa

1 motueka @15, 6.3aa

1 rakau @5, 10aa

WLP090 Super San Diego

Mash 90min at 156

90 min boil

Fermented 5 days at 64 deg. F

Measured 8.9 brix or 1.0355 for 6 gallons


Straight off the bat- Don't use half an ounce of apollo for 60, use a lot less or none. I think If I was to do this beer again (and I very well might) I'd use .2 at the most of apollo for bittering. Or else I'd cut it out and move the denali to 30 min and leave the rest, while adjusting the mash to add the carafa later. 

I brewed on a Sunday with the intent to keg friday for company. Wednesday I reached terminal gravity (after pitching at about midnight sunday) but the beer definitely tasted a bit green and needed a little more time to mature. I took it out of its fermentation control and let it warm up to room temp around 72 until friday. 

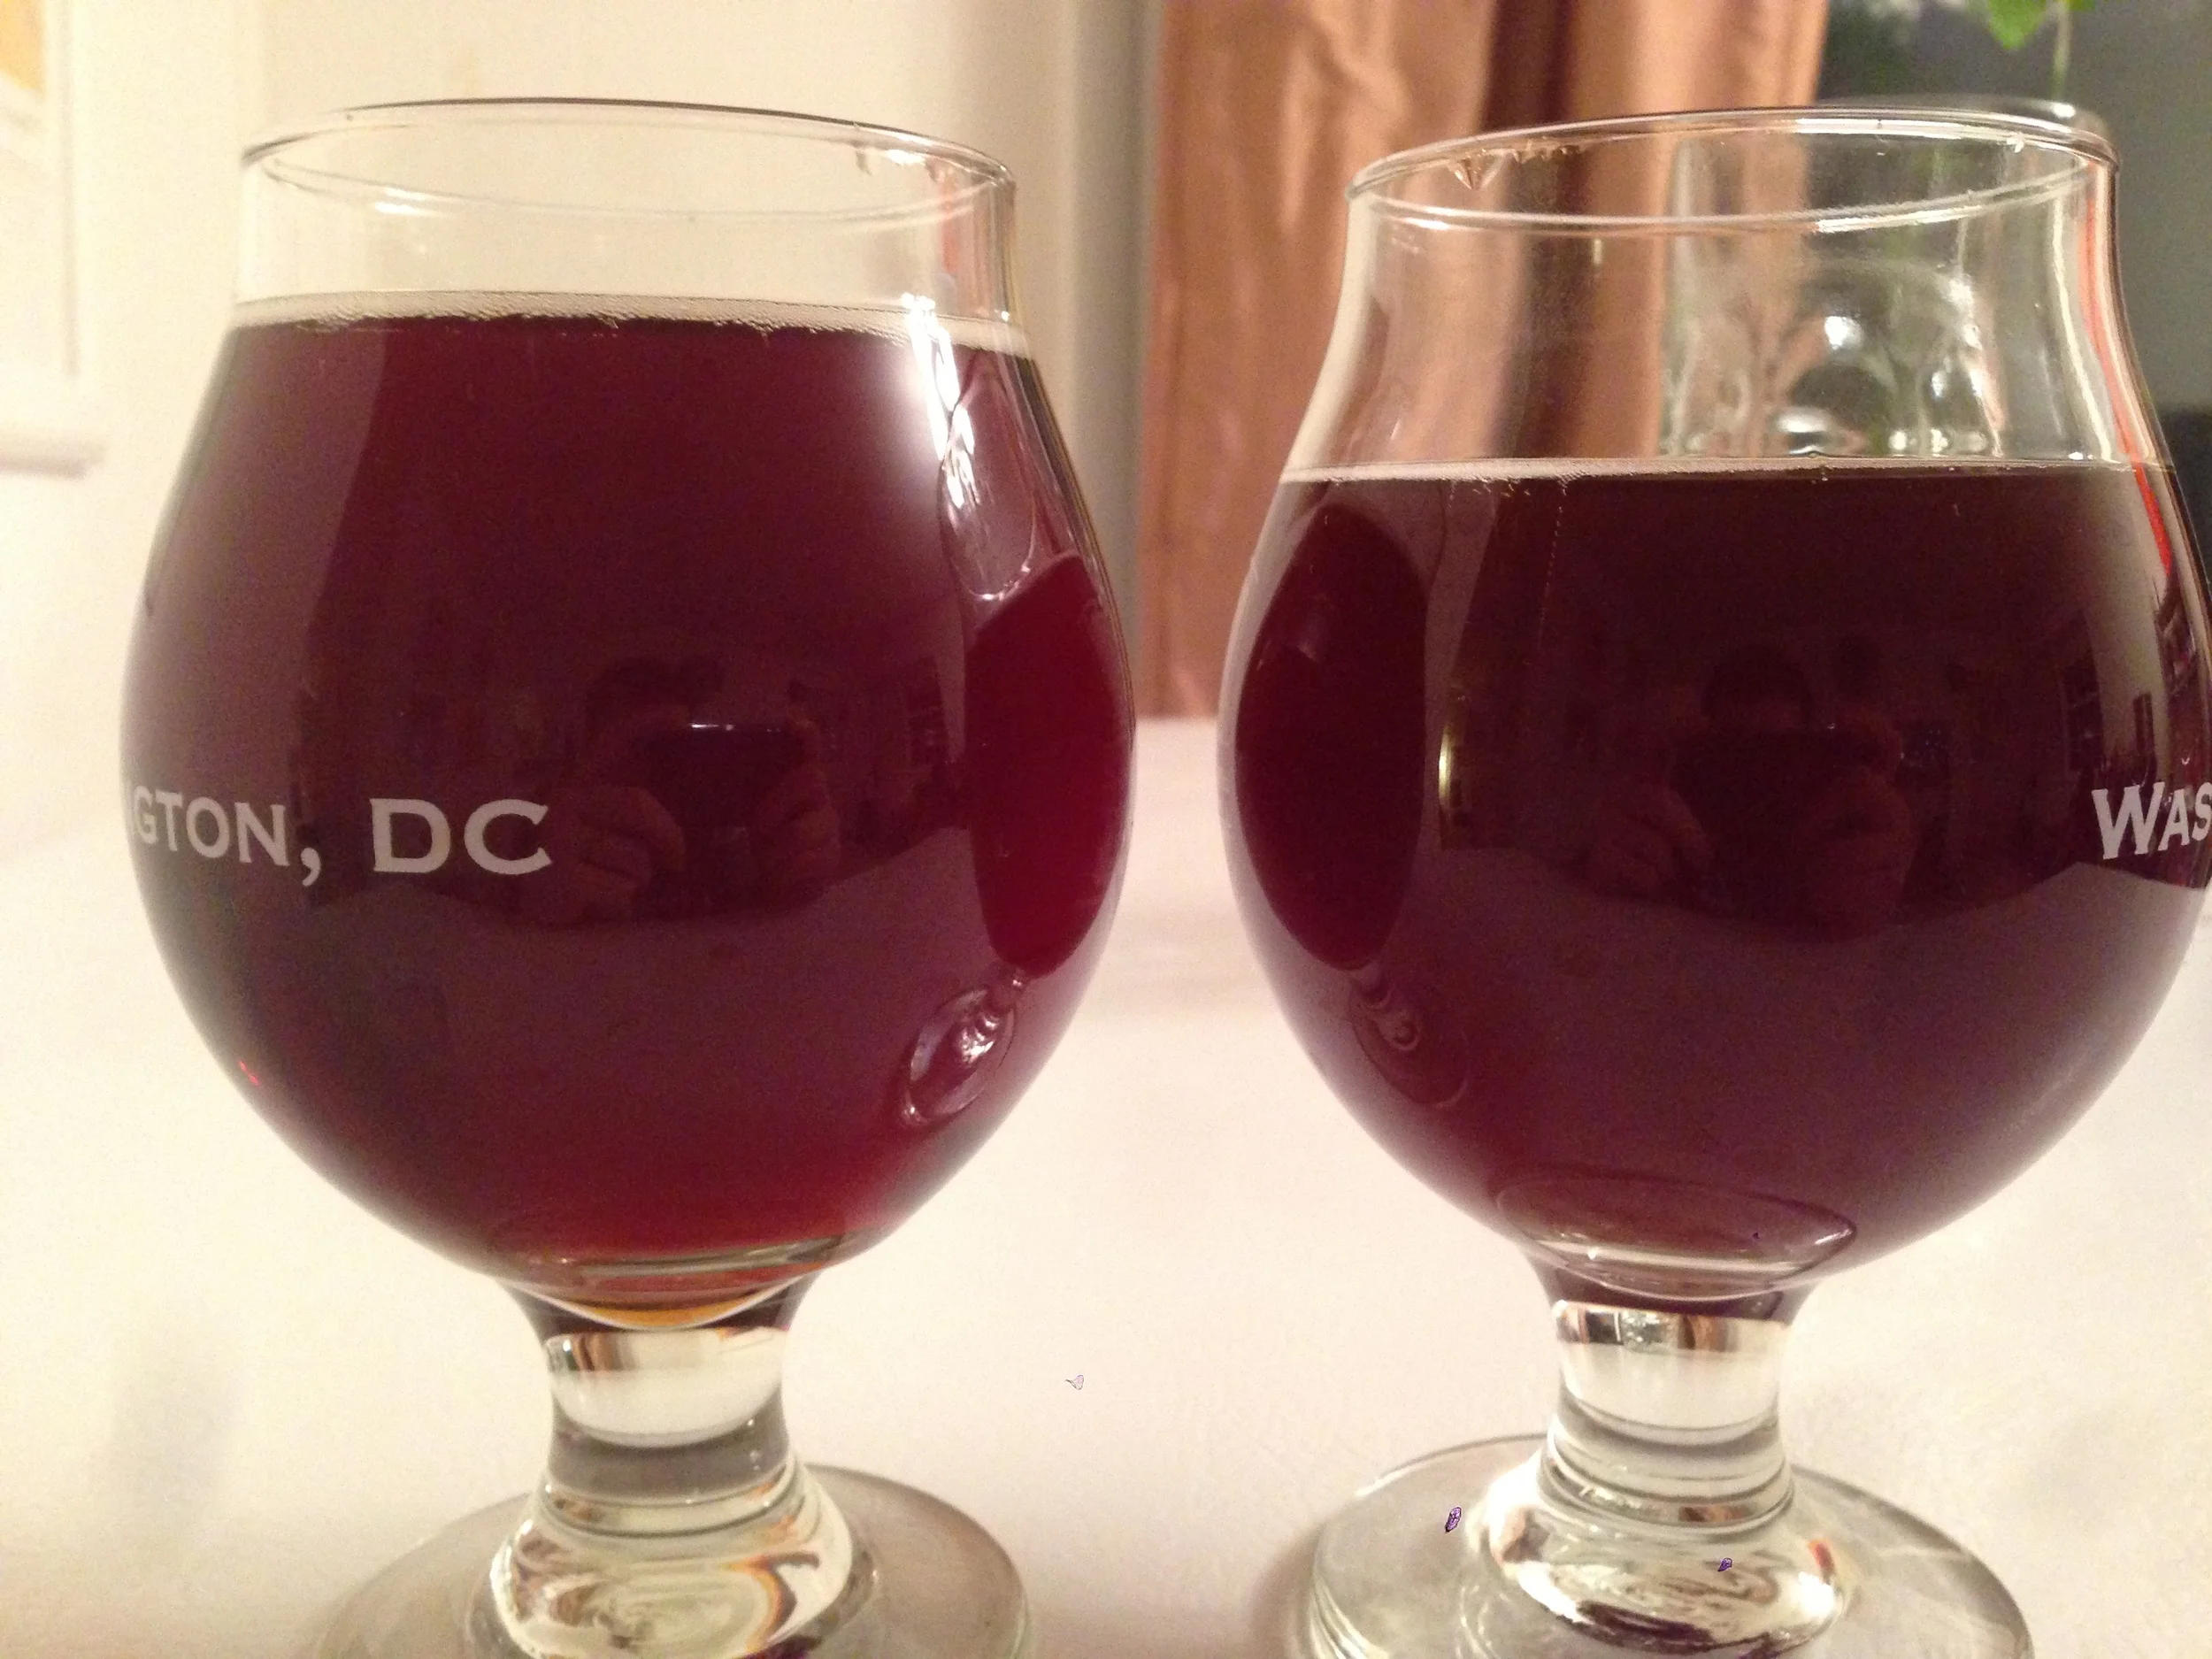
I wasn't paying very close attention to volumes and ended up at the end of boil with 6 gallons and fermented 6 gallons. With more proper mash and sparge volumes I think this would end up closer to 1.04 at 5 gallons. Final gravity was 1.008. Friday for kegging I pulled a gallon to drink flat while kegging the other 5. It was a different beer from Wednesday, good coffee and chocolate notes, bitter hops with a few fruity notes. 

It was better after fully carbonating Saturday though I feel the bittering hops overpowered everything else in the batch. 

My new years resolution this year is to brew more session beers and I think this was a good start. I was more impressed I had a very drinkable beer after 6 days. I am calling this a success even though there is a lot of room for improvement. 

Festbier season

The weather is slowly matching the season, which means none other than festbier season! Bavarian Oktoberfest has just ended but America has a bunch of events all over the place. 

This year I was determined to brew better than the two Oktoberfest beers I made last year, that I consider utter failures. For starters I needed to take better notes, but I think last year's batches had some yeast issues. The festbier concept this year was to modify our recipe to fit our current system numbers, no starter, and detailed notes of the brew day. 


Festbier 2016

4 lbs pils

3lbs Vienna 5l ovibond

3lbs Munich 10 lovibond

.4lbs caramunich (6.4oz) 53-60 lovibond

1 German Hallertau 2.5%

1 tettnang 2%

.5oz hersbrucker 2%

2 pure pitch souther german lager WLP 838

Campden tablet per 5 gal, no other water adjustments


Brew day breakdown:

Brewed 8/7/16

1145: 9 gal water  heating

1204: water at 146ish, dough in

1209: 4 gal of water, mash at 138 which is a little high. Pulling the 5th gal to cool before mixing and pulling the first decoction

1216: evened out to 136.9, covered for the remaining rest period

1236: pulled thick mash for first decoction

1250: nice rolling boil on decoction 1, added 3 scoops to hit 147. 30 min rest

124: pulling second thick mash

142: decoction 2 nice rolling boil, killed the heat. Added scoop by scoop to hit 154

243: pulled about 8 quarts of thin mash to decoct

258: added thin decoction to mash, hit 163. Started heating 4 gal sparge water

310: vorlof then draining before sparging

319: netted a little over 2 gal wort before sparging

323: 15 min batch sparge at 165

338: drain sparge

342: added half of sparge to 5 gal in kettle. Lit burner and continued draining the mash.

345: second half of sparge brought the kettle volume to over 6.5 gal. 

401: hit rolling boil

432: hop addition for last 60 min

518: inserted immersion chiller to sanitize for the last 15

532: boil done. Starting chiller

542: in 10min down from boiling to 95

609: everything is chilled or rinsed off and inside within half an hour of flameout. 

1026: Pitched yeast and put in lager fridge. Read 15 brix or OG 1.061.

8/29: diacetyl rest 5 days before cold crash/lager.

9/19: kegged. Reading FG 1.013

ABV: 6.3%


It was perfectly clear going into the keg. Coming out of the keg after carbonating it seems to have a bit of chill haze. The color is fantastic, it looks a little dark but it drinks incredibly light. Smooth light malt with a hint of caramel. It is everything both of my brews from last year weren't. I think my lager yeast that I had stored let me down last year which is why this year I skipped the starter and used 2 packages of yeast. I think the decoction really helped the complexity in the final malt profile. My plan is to brew this again without a decoction to compare a step mash to the decoction.

I do think the Wyeast Oktoberfest lager yeast yields a more crisp end result, but I was very happy with the final product from the White Labs pure pitch. Perhaps later I can do a split batch to compare lager yeasts. 

Until next time, Prost!

Experiment Ale #438

Avery's Twenty Two was definitely my favorite beer of 2015. I thought I'd never see it again, but slowly, seemingly randomly, they appeared in the DC metro area. I think I have picked up 6 bottles so far and might pick up more if I run into them again. 

Taking a step back, I think between talking to Mike Tonsmeire about dry hopping at last year's DC beer week and dicussing IPAs at multiple breweries, I finally discovered the downfalls of my previous IPAs. 

First off I wasn't drying my IPAs out enough, their final gravities were just too high. Admittedly I think a few of my earlier IPAs were  "kitchen sink" beers and had all my left over malts with hops I wanted to play with. Between bad mashes, tons of crystal malts, and what ever adjuncts, the yeast just couldn't dry them out. Not all IPAs need to be bone dry but it really helps accentuate the dry hops. That brings me to my second point, I was not dry hopping with nearly enough hops. One ounce into 5 gallons didn't have a big enough impact nor enough staying power. 

This time around I was going to do things differently. 

Avery had already teased me enough with Brett Drie. Crooked Stave had incredible brett beers. I was going to do my own Brett IPA, with HBC-438. HBC-438 is a neo-mexicanus descendant hop also known as "Ron Mexico".  It was the first harvest of this hop and it was only available to homebrewers. 

I took this opportunity to try out the Yeast Bay's Beersel brett blend. Planned to use a high alpha acid hop to bitter then everything else would be HBC-438 and then further dry-hop it with more HBC-438. 


Experiment Ale #438

1.68 White wheat

5.03 2 row Brewers malt

2.15 Pilsner

2.17 Vienna


2 campden tablets

1 tsp gypsum


Mashed in 3 gal to hit 130

2 gal 172 step mash up to 140

Drew 2ish gal thin mash to heat up to 152


.5oz Magnum 12.3 aa, first wort

1oz HBC-438 @15 (16.6aa)

2oz @5

Beersel Brettanomyces Blend 


3oz HBC-438 dry hop for 5 days while cold crashing

OG: 1.062

FG: 1.003

ABV: 7.7%

Brewed 11/11/15, Kegged 1/24/16

Notes: Tropical and phenomenal. Bright sunshine and tropical fruit with a slightly bitter edge.


Better representation of the color

This was exactly what I was hoping it would be. Tropical when cold and a little herbal bitterness as it warms, but the earthy brett really comes through in the finish. I think the Beersel blend from Yeast Bay worked really well for the HBC-438 myriad of flavors.

Annibeersary 3: Sir Etch-a-sketch

Back in August we had the chance to go to Denver and visit The Source. In the River North district you can find Crooked Stave Artisan Beer Project nestled inside The Source.  They make some wonderful funky and sour beers. In fact Chad Yakobson, the owner/brewer of Crooked Stave wrote his dissertation on Brettanomyces. The Brettanomyces project is probably more than most people need to read on Brett but a fantastic resource. The effort from that clearly shows in the beers from Crooked Stave. 

While we tried just about everything on tap and a few bottles, Surette really stood out and we brought a few bottles home with us. After reading over the Brettanomyces Project, and reviewing a few lectures Chad gave, we decided to try and spin up the dregs from Surette. Surette is fermented with a blend of BSI B. Drie, CMY001, Orval's B. Brux, and ECY B. custersianus then barrel aged. We didn't entirely know what to expect from this, but 2 bottles of dregs and 500ml of wort started fermenting pretty fast. We stepped this up over five days. 

Deciding what to make to celebrate another year together always  tends to be interesting. We were hoping to use some of our own hops, though they were a little burned out from summer. Luckily our friend Jeff gave us a sample of his homegrown cascade. 


Sir Etch-a-Sketch

9lb pils

3lb white wheat

½ lb aromatic

1lb acid malt


1oz warrior 60min

1oz cascade 20min (leaf)

.9oz centenial 5min (homegrown)

Surette Culture

Mash

20min acid rest at 120

60 min sacch at 153

mash out 164

OG: 1.070

FG: 1.003

ABV: 8.8%

Pitched starter 10/28/15


Test 11/15/15: measured 1.009 Slight acidity, fairly dry, smells very bretty, tastes balanced little bit of lemon but very reminiscent of avery twenty two before dry hopping.


12/20/15: FG: 1.003 abv 8.8 Full flavored, nice malt base but mainly lemony flavored. Not overly acidic but well balanced.


1/10/16: added 2oz cascade for dry hopping while cold crashing.


This beer was brewed at the end of October and left to mature (slightly forgotten about) until the beginning of January. It was never trying to be Surette, but it turned out great! It has a bright hop nose with a hint of acidity. It isn't super sour but has a little acidity to it, hops up front but has a refreshing lemon character a bit of a dry wheat finish. It gets a little more fruity as it warms up. I think the dry hopping really rounded out the aroma and paired well with the slight lemon tartness. This is easily the best beer I think we have ever made. I almost feel bad that we got snowed in with it and I might drink the entire keg by myself. 


Lavender Saison: Universally Popular Panty-Dropper

One of our most successful beers this year was a Lavender Saison recipe that we brewed twice. We had to brew it twice, because the first batch went so quickly. It was the first keg we've had that went from full at the beginning of a party to kicked before the party was over. Its universal popularity surprised me. Everyone loved it: men, women, people who like beer, people who don't. We served it two ways at our Oktoberfest party: straight up or mixed with lemon sparkling soda as part of a lavender-lemon shandy/radler. This is a beer we even received a thank you note about after the party! I don't think I've ever brewed a more popular beer. 

Before we brewed this beer, Evan and I had a long debate about how to flavor the beer with lavender. We were torn between using tinctures or adding the lavender to the boil or a mix of both. We were concerned about getting too much lavender flavor and having the beer taste soapy. It seemed like it was going to be a hit or miss beer experiment, and we would be lucky if the end result was remotely appetizing. The original plan was to use lavender we grew ourselves, but our container garden was not productive enough for that, so we instead bought culinary french lavender off of amazon. I think this was the right choice. The french lavender was far more fragrant than the lavender in our garden. 

Culinary French Lavender 

Culinary French Lavender 

We changed the recipes slightly between the first and second brews. The first brew had more lavender added to the boil, while the second one had half the amount of lavender, but added lemon zest to the boil. This resulted in a more subdued beer. Still delicious, but not as good for shandies as the lavender flavor got lost in all the lemon. I preferred the original recipe, which you can see below as Lavender Saison. 


Lavender Saison

9 lbs Pilsner

3 lbs Wheat

1 oz Cascade @ 60 min

.5 oz Hersbrucker @ 30 min

1 oz Willamette @ 5 min

1/2oz of lavender at end of boil


Mash in @ 120, 20 min protein rest

150 for 60 min mash out

Boil for 60


OG: 1.056

FG: 1.009

Calculated ABV: 6.17%


Lavender Saison Ingredients 

Lavender Saison Ingredients 


Lemon Lavender Saison

9 lbs Pilsner

3 lbs Wheat

1 oz Styrian Goldings @ 60 min

.5 oz Hersbrucker @ 30 min

1 oz Willamette @ 5 min

.25 oz lavender and zest of 2 lemons at flame out


Mash in @ 120, 20 min protein rest

150 for 60 min mash out

Boil for 60


OG: 1.064

FG: 1.009

Calculated ABV: 7.2%


All in all, our experience brewing with lavender was great. I'm excited to experiment with more floral flavors and herbs in future beers. High on my list of flavors to experiment with is violet. During our recent trip to Austin, Texas, I had some great cocktails utilizing violet liquors and fell in love with the flavor. Look for more fun floral recipes in 2016! 

A Belated Oktoberfest

We are well on our way into November at this point and I never got around to posting this article, so without further ado: Oktoberfest 2015. 

Last year we were lucky enough to attend Oktoberfest in Munich. This year being state side we were looking for a nice festbier to pass the time. I feel that American Oktoberfest beers tend to miss the mark. The Germans also had a few years to perfect their lagers before us. 

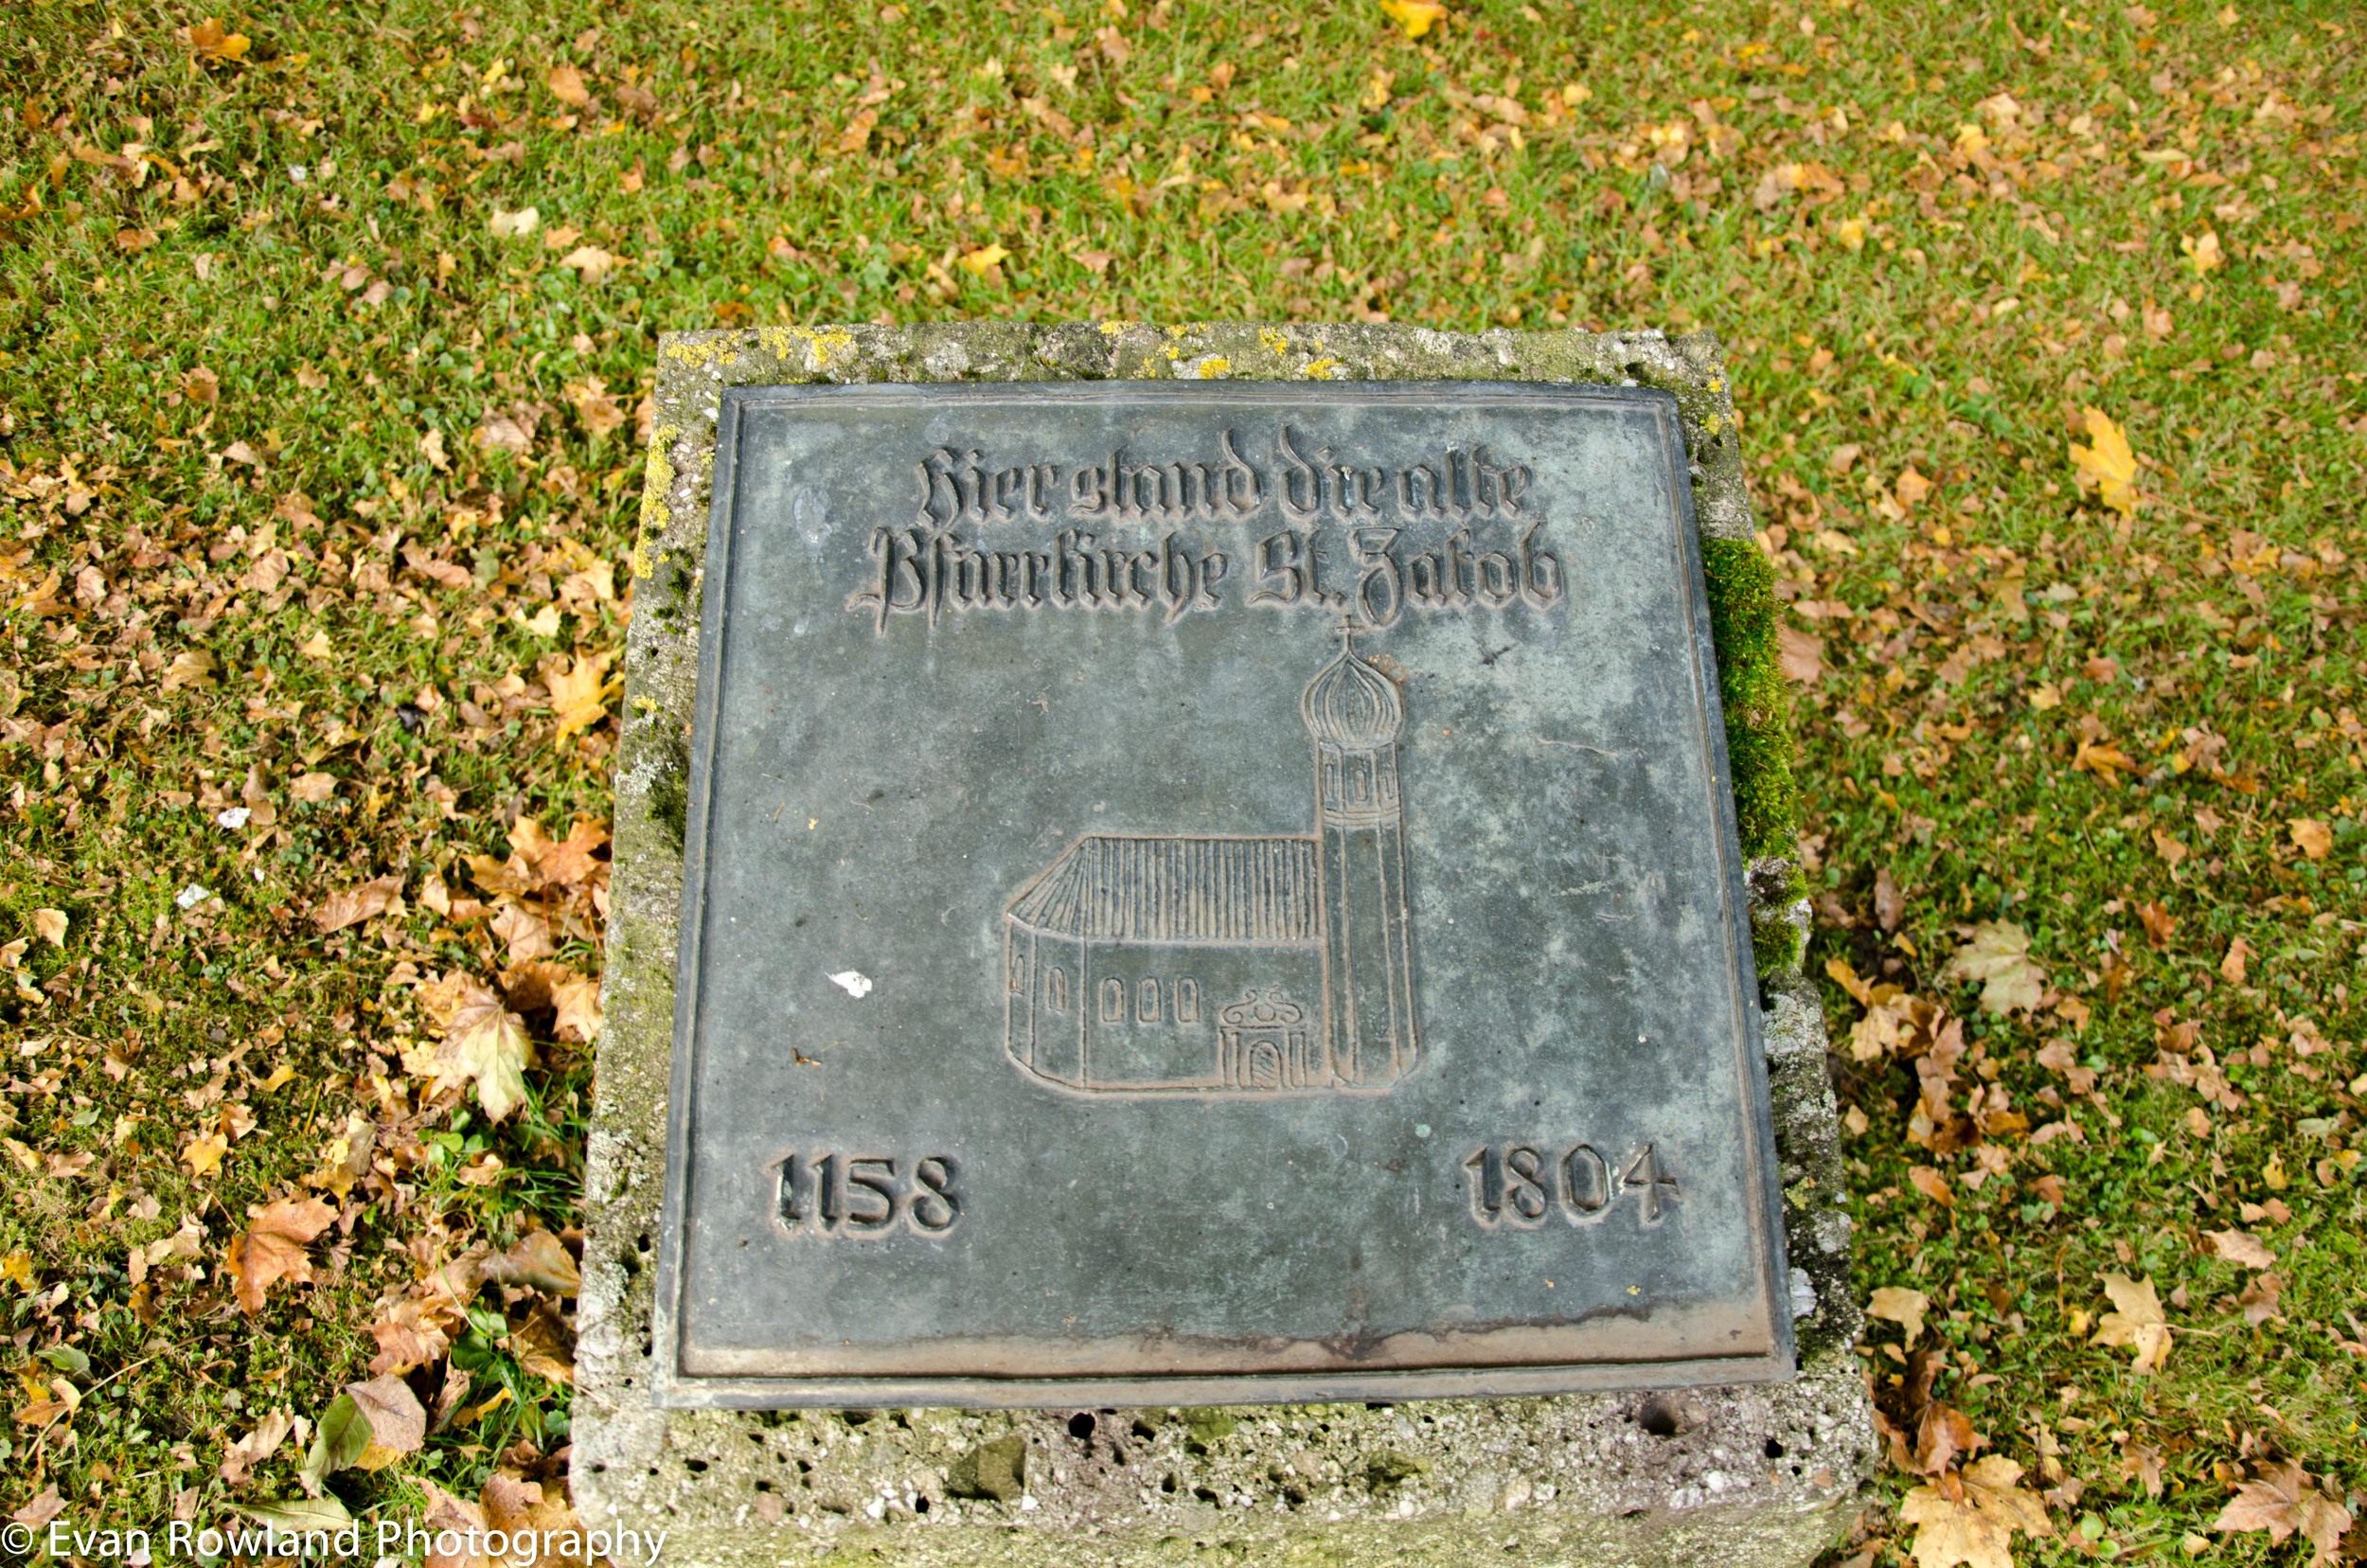
For a baseline we started with two German beers. Both were 5.8% but very different beers. The Weihenstephaner was very pale with a light sweet finish, a beer you could easily drink a few liters of without much problem. This was not exactly the fest beer we remembered from our trip, but it wasn't a bad beer.

The Ayinger I had not had before. While it had a smooth full malt flavor, it seemed a bit buttery. 

The Victory festbeer was full bodied and malty, almost coffee like. Great amber but not exactly a German Oktoberfest.

The Yuengling was malty but maybe slightly oxidized and a very thin watery mouthfeel. You could probably pound these like normal Yuengling. 

The Widmer Brothers Okto had an assertive bitterness. Great malt backbone but has a solid American hop presence. 

The Sierra Nevada was actually a collaboration brew with Brauhaus Riegele. A crisp lager, while a little dry was just a solid beer. 

The Peak Organic smelled like pumpernickel and drank like an IPA.

The Goose Island was malty but the flavor falls flat then leaves you with a lingering dark roasted flavor. 

I'd call the Sierra Nevada the clear winner of this group. It was definitely the most German of the American brewed beers, which isn't surprising when you have a German brewery in collaboration. 


After visiting Oktoberfest in person we came home and developed a recipe of our own. We brewed the first version of it last year and thought it turned out phenomenal and true to the German brewing methods.

This year I brewed it twice in preparation of our own Oktoberfest party. Both had the same measured grains and hops. The first OG was 1.071 while the second OG was 1.078. The second was fermented on the yeast cake of the first and they both finished at 1.015. I think the main difference was how they were milled, I believe I hand cranked the first one while the second was powered with a drill. We seem to be consistently hitting 85+% efficiency which is why our calculations were off from the original recipe. These are also decoction mashed so the efficiency should be a little above the 70% average. (Is that the average? I though that's what most calculators default to)

All that said, we weren't super happy with our Oktoberfest beers. We missed our mark flavor-wise, and they really didn't want to drop clear. I think our yeast was the major defect, aside from milling consistency, and next time I'll spring for a fresh batch of Bavarian Lager yeast. Mistakes were made but I stand by this recipe and will continue to try and perfect it.


Annibeersary 2: Marzen Boogaloo

Wyeast Bavarian lager 2206

7lbs pils

4lbs vienna

2.5lbs munich

.4lbs caramunich

1 Hallertau 2.7AA

1 tettnang 2.4AA

.5oz hersbrucker 4.3AA


3 step decoction mash

Dough in 130 for 20min

Pull 12qts thick mash, bring to boil

Add back to main mash to reach 146

Rest 30min at 146, pull 2nd thick mash bring to boil

Add to hit 158 for 60min

Pull thin mash, boil, add to main mash to hit 167+

Add all hops at beginning of boil, boil for 90min. 


Target OG: 1.060

Target FG: 1.015

Calculated ABV: 5.8

Use a large starter, Primary for 2 weeks, Diacetyl rest for 3-5 days, cold crash/lager a week before kegging/bottling. 


Life Changing Beers

Please excuse my terrible handwriting

Please excuse my terrible handwriting

Brooklyn Brewery makes a saison featuring Sorachi Ace, which knocked my socks off when I first had it. I think it was a turning point from liking "really hoppy beers" to "this hop has this characteristic and flavor depending on how you use it". I decided after that beer I would make my own single hop beer, but not a clone of brooklyn's sorachi ace. Thus the first Tiger Blood IPA was made. 


Tiger Blood IPA

6lbs Briess DME Gold

.5lb CaraMunich 60

1lb Cara-pils dextrine malt

1oz Sorachi Ace whole flower hops 60min

.5 oz Sorachi Ace whole hops 30min

1oz Sorachi Ace pellet hops 5min

.5oz whole cone hops dry hop

WLP090 san diego super yeast

OG:1.063

IBU~70


The second "tiger blood IPA" was my 50 shades of greyskull IPA that was continuously hopped with sorachi ace. I shared that recipe in our first post but here it is again:


50 Shades of Greyskull IPA

13 oz sorachi ace hops leaf, 1 oz every 6 min, 3 oz dry hop

10 lbs 2-row or other base malt (extract: 6 lbs light dry extract)

1 lb cara munich

1 lb carapils

San Diego Super Yeast WLP090 

OG: 1.065

ABV: 6.7 - 7%


WARNING: Making and sharing that beer may have life changing consequences. 

Those consequences are the point of this story. I haven't made anything with sorachi ace in the past three years, until recently. In those past three years I have learned a lot about brewing, traveled half way around the world doing beer research, and met my match. 

If I am out in the yard brewing when Lisa comes home it is nothing out of the ordinary. Apparently me messing with my camera and taking a bunch of pictures isn't out of the ordinary either.  A few weeks back I brewed a single hopped saison. All sorachi ace up to IPA levels. 

A few weeks before brewing, I designed and ordered a ring. Towards the end of July, with some support from the International Space Station and a very bright almost blue moon, I proposed and she said yes! And with that the beer had a name: Tiger Blood III: The Propose ale

The international Space Station

a well brewed plan

First pour

This beer is meant to be more balanced, unlike the 2nd. Saison III has always been a great preforming yeast for us and it was a cool experiment to harvest it from one of our old bottles. It is a fruit forward yeast that I think works well with this type and amount of hops. Hopefully everyone at the engagement party enjoys it. 


Tiger Blood III: The Propose Ale

WLP585 Saison III

2 campden tablets, 9 gal of water

2tsp gypsum

5 lbs pilsner

5lbs munich

mash 150 for an hour 4 gal, then 1 at 30 to keep temp

Mash out 4 gal 165

.5oz sorachi ace FWH

.5oz sorachi ace 40"

1oz  sorachi ace 10"

1oz sorachi ace 5"

1oz full flower hop dry hop 4-5 days

OG:1.0475

FG: 1.004

ABV: 5.6


Large format sorachi ace on left, propose ale middle, 12 oz bottle right

It had been a while since I picked up Brooklyn Brewery's sorachi ace. They have started releasing 4 packs of 12 oz bottles in addition to the corked large format. The corked bottle mentions that it is refermented with champagne yeast. The 12 oz bottles don't say anything about champagne yeast. Comparing the two: the large format is much more Belgian but also very sweet. The smaller bottles are much more bitter and upfront hoppy. Both exhibit the sorachi ace hop well, but they are different beers.  

Saison Found

Between professional exams and writing a book, it has been a very busy month for us. Unfortunately the blog had to suffer through a bit of silence, but we are still here and brewing.

In our last post we talked about wanting to use a yeast we had lost, White Lab's Saison III. Since that post, we have made a miraculous discovery! What once was lost was found. During a trip to Lisa's parents' house Memorial Day weekend, we were fortunate to discover the last remaining bottle of our Pumpkin Saison from the previous season. This was the last beer we made with Saison III before our unfortunate yeast bank accident. We lucked out as the beer was forgotten about in a fridge, awaiting our return. 

A note about our Pumpkin Saison: For our October 2014 pumpkin beer, we drastically changed our pumpkin beer recipe for an experiment of sorts. Typically, we would make a dark ale with the standard spice blend that people have come to expect in pumpkin beers. But after reading an article which questioned whether "pumpkin" beer was a misnomer, when the tastes of most pumpkin beers are so focused on the cinnamon/nutmeg/allspice/clove/mace/cardamom/ginger/brown sugar/vanilla flavor profiles, we decided to go a different route. We came up with a pumpkin beer recipe designed to enhance the flavor of the pumpkin. We decided a saison would be appropriate, due to the clean yeast character. We went with dark Belgian and chocolate malts for the base to give the beer a rich character without adding the brown sugar, vanilla or spices. The resulting beer was not entirely successfully. When we mashed initially, the resulting wort smelled delicious, like pumpkin muffins, and we were really excited. But when we took it a step further and added more pumpkin during the boil, it got weird. The resulting beer was a bit too starchy and did not have a long shelf life. Next time we will probably nix the pumpkin addition during the boil to see if we can get a resulting beer that tastes as good as the wort initially smelled. 


Pumpkin Saison (2014)

  • 6.8lbs munich
  • 1lb pale chocolate
  • .5lb special b
  • .5lb aromatic
  • .5lb caramunich
  • 1lb biscuit
  • 1lb crystal 60
  • .5lb flaked oats (quaker)
  • 1oz Czech Saaz 3.6%AA 60
  • 1oz German Tettnang 2.4%AA 30

Mashed around 154 for an hour with 3 cans (45oz) pumpkin, use rice hulls or expect a stuck sparge

Adding 29 oz (large can) pumpkin last 15 of boil

OG: 1.049 FG: 1.008
ABV: 5.4


With great excitement over our discovery, we packaged the bottle with care and transported it safely back to our house, where we started culturing up the dregs of yeast on the stir plate. Starting with around 500ml of 1.030 wort, we later stepped it up to a little over 1L after seeing solid activity about 36 hours after pitching. After chilling and decanting the yeast, we banked three separate tubes of saison III. Success! 

As we continue on into summer and saison brewing season, Lisa has been tending our garden between studying and running around. This year is the first year we have tried our hand at a container garden on the patio. We picked a number of herbs and spices for the garden that will be great in cocktails, particularly lavender. Since our tiny garden is booming, we decided we should probably brew something with it. Why not a lavender saison?! This will also be an interesting brew, because it will be our first time brewing with a tincture. 


Saison Found

  • 8 lbs Pilsner
  • 2 lbs Wheat
  • 1 lb 2 row/munich
  • 1oz Magnum/apollo for 60
  • .5oz Cascade for 20
  • 1oz Cascade for 5
  • Lavender tincture


Saison Season Starter

A few years back now, Lisa and I built a mash tun and broke it in with a saison. The recipe was simple and it turned out fantastic. I attribute most of its success to WLP585 Saison III. A white labs platinum strain that pumps out consistently great beer. We had a sample in our yeast bank that I had planned to use for a saison to take on our camping trip next month, but my plans were trampled when I found the bottle of it had exploded in our fridge. Not sure how or why, but it was completely lost. 

While stocking up on supplies I was pleasantly surprised to see white labs purepitch packets in the wild. For the uninitiated, these packets are made from the larger container that the yeast was grown in so that it never is transferred and reduces the risk of contamination. 

Since I cannot repeat our original saison recipe at this time, I decided to go with something new. From the original recipe I took the malt bill, simple 10 and 2 of pilsner and 2-row. For the start of the season I wanted something to stand out but still be drinkable, apollo hops to balance out the very pale malt backbone and east kent goldings with a bit more apollo at the end for flavor and aroma. Saison II (WLP566) should give it a neutral yeast character but we'll see if its as "clean" as saison III used to be for us. 

I look away for two seconds and my first half of the mash boiled over. Not as bad as when a full kettle of wort boils over. This was a good way and slightly messy way to start off saison season. I will bide my time until wlp585 comes back on the market with this batch and another batch with the wlp565 soon enough. 


A Saison For Camping

5 gallon batch, 90 min boil

10lbs Pilsner

2 lbs 2-row

.75oz apollo at 60

.25oz apollo at 5

1oz EKG at 5

Mash at 152-155 for an hour, batch sparge. 

WLP566 Saison II

Primary for two weeks, first three days low around 68-70 if you can, then raise temp as desired.

Cold crash and keg to take camping

OG: 1.053


Cherry Blossom lager

Every year the DC Homebrewers club holds a competition for cherry blossom season. The competition is BJCP sanctioned and structured, but also has a specialty category 40 for Cherry Blossom beers.

The BJCP specialty category (23) says that "If a base style is declared, the style should be recognizable. The beer should be judged by how well the special ingredient or process complements, enhances, and harmonizes with the underlying style." So the DC competition seems to follow that rule even for their cherry blossom category. 

I will admit my beer had flaws when I entered it. It was experimental and young. I based the recipe off a blend of other beers I had on hand with my specialty ingredients. The prototype blend got rave reviews from friends, but there was only one bottle which was freshly blended and mostly flat. My entries were a bit young and didn't stay as clear as I had hoped when bottling. I think I will be kegging competition beers before bottling from here out, if and when I enter another.

My combined reviews were a less than stellar 23 out of 50. 

To take a step back for a moment, I'd like to talk about cherry blossoms and their flavor. I studied abroad in Japan, and landed in the country just as cherry blossom season kicked off. American flavored cherry things are nothing close to cherry blossom flavored things from Japan. Cherry blossom in Japanese is "sakura". Especially in March and early April, sakura flavored everything can be found. From bread and mochi, to kit kats and McDonald's shakes. Sakura flavored things tend to be a pinkish color, where most American cherry flavored things are red. Cherry blossom stuff doesn't taste "red". Cherry Blossoms themselves aren't super fragrant to begin with. Most sakura things have a soft floral and sweet flavor to them, most of which are flavored with sakura extract.

I wanted to do some more research before making my beer for entry, so I ordered some sakura kit kats off amazon. They showed up a little beat up and melted, so they were probably a little on the old side. They lacked a lot of the floral character I remembered, instead had a cinnamon flavor to them. 

Old Dominion Brewing company also makes a Cherry Blossom Lager every year. I have never been a fan of it. The previous two years were overly sweet and syrupy with a big unpleasant cherry flavor. This year was actually a little more balanced between lager and cherry flavoring, but it just isn't a cherry BLOSSOM beer. I consider this the only beer in my competition, regardless of the out come from the DC Hombrewers. I set out to make a floral lager with a cherry blossom sakura edge to it. 

I did a clean lager primary that I flavored when I bottled. It was brewed January 25th and bottled February 24th. My specialty flavoring was from mixing bottling sugar with sakura tea and sakura extract. After two weeks of carbonating they had notes of cinnamon and cherry blossom in the nose. Nice floral cherry blossom flavor leading into a light sweet malt. Well balanced but cloudy from being room temperature and unlagered. The rest of the bottles were put in the fridge on March 3rd and my entries were dropped off on friday the 13th. 

Judging was March 21st while we were in Boston. I tried another bottle before we left and it had lost a bit of that floral character I was after and the cinnamon had become more upfront.  I am not sure if my bottles were kept cool through the week or not, either way with as cloudy as it was I knew it wasn't going to turn out the best in judged results. 

As I write this, I cracked open a bottle for the first time since March. It has been in the keezer lagering, and turned out much clearer as the pictures show. When it's cold it smells a bit malty and tastes malty but a little sweet, with a full and slick mouthfeel. After checking my notes I see I mashed it a little high, the next go around I'm going to mash a little lower to try and dry it out. The beer I am drinking now is not the beer I entered in the competition. 

Both judges knocked my beer for not being "lager-like" and exhibiting more belgian characteristics. They thought all the spice and other flavors came from the yeast, when it was the extract and tea. Since my lager didn't fit in the BJCP "box" it didn't score well. Most of my beers don't fit in a BJCP category, which is why I don't often enter into competitions. It is interesting to note the BJCP has 28 categories of beer, mead, and cider while the Great American Beer Festival (GABF) has 89 categories and even more subcategories. 

I will keep brewing the beer I like to brew, competition or not.


Cherry Blossom Lager

Note: 2 Gallon batch size

2lb pils

2lb maris

.5 flaked wheat

Mashed 148 for 35, 154 for 25


90 min boil

.1 apollo for 60

.2 mixed hersbucker and fuggle for 20

bavarian lager yeast 2206

cherry blossom extract at bottling

sakura tea with bottling sugar

3 weeks in primary around 50, one week at 68-70 for diacetyl rest, cold crash and bottle. Lager as needed.

OG: 1.064
FG: 1.014

ABV: 6.6%

National Beer Day

Happy National Beer day to everyone in the USA. Today marks the day where beer and wine at 3.2% alcohol by weight (4% ABV) became legal to sell in the United State after President Roosevelt signed the Cullen-Harrison Act in March 22, 1933. April 6th is known as New Beer's Eve. All of this was completely unknown to me until this morning when my dad asked about National Beer day. 

To mark the occasion, I finished brewing an American not-so-pale ale yesterday! Clearly totally planned. Actually it got pushed back from the weekend as I was building the namesake beer garden table. The beer was brewed late Sunday and cooled until Monday when the yeast was pitched. 

The Table

Lisa and I were in Europe this past fall and had the pleasure of experiencing Oktoberfest first hand in Germany. All of the beer halls, tents, and gardens have similar tables and benches, most DC beer gardens have the same. They are each about 8 feet long and 31 inches high. The benches are between 18 or 19 inches high and also 8 feet long. There are a few state side vendors that sell these tables and benches but they run no less than 300 dollars. Craigslist would even show used tabled (and I mean abused tables) for 300 bucks. I felt they should not be that expensive, so I built my own.

The major issue with building your own is that the hardware to make everything collapsable is not available. I think there is only one german vendor that makes the table legs and bench legs for beer garden tables, and I was unable to find that kind of hardware. I improvised. 

The key for this project was cheap. The table was to be about 24" wide and the benches 12" wide. Home Depot has 3/4" thick project boards that are only 2x8' for about 50$ with 55$ shipping per board and only available online not in-store.

Surprisingly Lowes had 4x8' oak finished project boards for  a bit less than 50$. I had given up on folding bench legs, but the table needed to fold. I got the last set of folding legs at Lowes, though most employees thought they were out. I went with poplar for the bench legs as it was a bit cheaper than the oak. 

Most projects require a few trips to the hardware store. I really thought I could get away with two trips for the majority of the supplies, but a third trip was required for screws to bring this whole thing together. 

A 3/4" plank is not quite durable enough for benches or a table. To stabilize everything I got 2x6" pine boards to use as runners underneath. The table top is bolted into two 2x6s where the folding table legs are mounted. I did a lot of research for how tall the legs were and what their capacities would be. The legs are 29" tall and support up to 400 lbs. With the braces and the table top that brought me right to 31", then I tested my build.

Each bench has a single 2x6 running down the middle and bolted down three times, at the middle and both ends.  The legs are then screwed into the 2x6 and braces twice in the middle. Major shout out to Carl for helping me with the benches, couldn't have done them without his help. 

Above gives you the main layout of the support structure of the benches and table. I'm glad the beer garden finally came together.

I haven't completely finished sealing and finishing the table set, so we brought it into the beer hall to protect it from the rain this week.

An 8 foot long table has been really useful inside for meals as well as studying. Household beer tastings will never be the same. I hope everyone else has had a great National Beer day. 


New Beer's Eve not-so-pale APA

5.43 light munich

5.83 dark munich

1.26 marris otter

.8oz Apollo 60"

1 oz cascade 20"

1oz citra 10"

1oz german hull Mellon flameout

Vermont ale yeast

60 min boil, OG: 1.067 estimated FG: 1.014 ~ 7%ABV

Spring Brewing - Ettaler Curator Clone Doppelbock

Ever since our trip to Germany last Fall (see Old World Mashing post), I've wanted to brew a doppelbock. The doppelbock style originated in Munich in the 17th century. It is a darker version of the Bavarian Bock beer. The Oxford Companion to beer defines a doppelbock as a strong beer with minimum original gravity of 18 degrees Plato and a typical alcohol content beyond 7% ABV.

When I was ironing out my recipe, Evan and I bought a selection of doppelbocks to taste test. The Weihenstephaner Korbinian is delicious and roasty. The Eggenberg doppelbock was lighter and very drinkable. The Aecht Schlenkerla Eiche ("Oak Smoke") is smoky and delicious, but I wanted to make a more classic doppelbock. The Samichlaus Classic is sweet and fruity and dark with a warm alcohol burn on the way down. Definitely stronger than what I was going for. They were all good in their own ways, but Ettaler Curator remains my favorite doppelbock.

I was first introduced to Ettaler Curator at a beer tasting at Medieval Madness. All of the beers in the tasting either had a medieval heritage or were actually available in the Middle Ages. Ettaler Curator, brewed by Klosterbraueri Ettal in Ettal Germany, was by far my favorite. Since then, I've discovered that Ettaler Curator is relatively difficult to find in the States. I live in the DC metro area and the only reliable place to get it is John Strongbow's Tavern on King Street. 

While researching potential doppelbock recipes, I found a Ettaler Curator Clone recipe from a September 2008 issue of Brew Your Own magazine. I decided to try it out, with minor changes. 

The Starter: Bock Beer yeast

I used a mash tun instead of the steeping bag called for in the original recipe. I mashed in at 110 degrees F and let sit for 20 minutes. Then I took 15 quart scoops of thick mash out of the mash tun and boiled the shit out of it. I added it back in to get the mash up to 145-ish. I let that sit for half an hour. For the second decoction, I took 15 quart scoops of thick mash out of the mash tun and boiled it. After getting it to a good rolling boil, I added it back to the mash tun to get it up to 155 degrees F. After getting the mash to 155, I let it sit for an hour.  After an hour, the plan was to remove a thin mash from the mash tun, boil it, and re-add it to the mash to get it up to 165. However, when trying to pull the thin mash, I ran into a snag.

Decoction Mashing

ALL OF THE STIRRING

Eventually, the mash gets a porridge-like consistency. This is what you want!

A literal snag

When it came time to do the thin mash, no wort would drain from the mash tun. Later, we learned that this was because the filter at the bottom of the mash tun had been completely effed from use and abuse. Luckily, we had a large strainer bag to use to filter the wort from the grain. This was a messy process we had to do twice: once to take the thin mash and once to lauter at the end. Despite the claims Budweiser makes in their commercial, I believe having to use a strainer bag to filter wort after your mash tun filter fails and after spending all afternoon decoction mashing is truly brewing the hard way.

After I had boiled the thin mash, we added it back into the mash tun get the mash to 165. After letting it sit for 15 minutes, we lautered, draining the wort from the mash.

Instead of the two hour boil that the recipe calls for, I did a 90 minute boil. I used 1 oz of Magnum hops added in at 90 minutes. The boil was without issue. After cooling the wort, the original gravity came out to 1.112, which is higher than I expected based on calculations, so efficiency was very good. The beer is now in the mini fridge, fermenting at around 50 degrees.

Have you noticed that most doppelbock names end in "-ator"? Ettaler Curator, Troeganator, etc. This helps to indicate the style, and is also an homage to the original popular doppelbock, Paulaner's Salvator. I still need to come up with a good -ator name for my fermenting doppelbock. I was thinking Hibernator might be a good spring one, but I also like Instigator and Castigator. You can find a list of potential -ator names here and here.

I'm really looking forward to drinking this doppelbock when it is finished! I am already saving bottles in anticipation.

Already saving bottles in anticipation of bottling!


Spring Doppelbock


14 lb. 4 oz. (6.5 kg) Dark Munich malt (20 °L) 

4 lb. 12 oz. (2.2 kg)Light (normal) Munich malt (10 °L)

11 oz. (0.31 kg) Carafa III malt

14 AAU Yakima Magnum hops (90 min.) 

White Labs WLP833 (German Bock) yeast

Mash in at 110

First decoction to bring main mash to 145

Second decoction to bring main mash to 155

Thin decoction to mash out at 165

90 min. boil

Primary 50-54deg for 2 weeks, Rest for 4-7 days at 68-70, lager as desired.

Zen Hefeweizen on Tap

Primary

For a single ale in primary I like to used my patented containment system: A keg tub to house the bucket and a towel over it in case the lid blows. It has enough room to use a growler and a blow off tube and when doing so it tends to sound like a tug boat. 

Pictured here: Hefeweizen open fermentation. Not Pictured here: Towel/blanket for containment

The Hefeweizen was being fermented open so we didn't need to worry about a blow off tube. Though had the lid been on it probably would have exploded even with a blow off tube. The starter almost blew off the tin foil hat it was wearing. 

Before and after culturing yeast on the stir plate

Before and after culturing yeast on the stir plate

This was designed, rewired, and 3D printed by my good friend Steve. It has had one of the biggest impacts on our brewing, other than controlled cold side fermentation for lagers. 

Hefeweizen open fermentation eruption in containment

Hefeweizen open fermentation eruption in containment

Since it was still the tail end of winter, it stayed a stable 68 degrees for fermentation. Aiming for a banana forward hefe, we wanted it to ferment on the warm side, so we never put it in the fermentation chamber. Also reading up on hefeweizens, less pressure helps produce more banana esters and reduce clove phenols. We let it ferment open with the cheese cloth for 4 days to let the bulk of fermentation and phenol/ester creation run its course. After high krausen fell, we put the lid on and let it finish fermenting for another 10 days. After that we kegged it and let it sit at about 11 psi for 2 weeks.


The Outcome 

It's amazing we still have a bit left in the keg in April, as this was brewed back in February. 

The end beer has almost zero clove, it's very light with banana and hints of vanilla. A medium body leaves it very drinkable. It's a fantastic spring and summer beer that just tastes like sunshine. The beer was originally cloudy like you'd expect with a hefe, but after being in a keg for a month the beer is almost crystal clear. 

I was surprised that this wasn't a banana bomb. It's fruity but balanced. I think if it fermented a bit warmer we would have had a lot more banana in the beer, but I wouldn't want to push it over 74F. 

Thanks to our dear friends, the keg is nearing its end so we will have to brew it again soon.


Here's the recipe again if you don't want to search for it in the previous post:

Zen Hefeweizen

7 lbs Wheat malt

3 lbs Pilsner 

Wyeast 3068 Weihenstephaner Weizen

.5 oz Hallertauer for 60 and 20

ABV 5.5%

IBU 12

Divorce Before Marriage Gose

Being the first of the month I wanted to get some beers going. I had wanted to make a Gose for a long time now, even more after trying Sam Adam's 26.2. I have also been threatening Lisa for years about making a pickle beer. Lisa absolutely hates pickles, she likes cucumbers and fermented things, but not pickles. 

So for April Fools day, I have brewed a pickle beer!

A traditional Gose is usually barley based, spiced with salt and coriander, and finished by lacto fermentation.  This pickle beer is slightly different with a bit of salt, peppercorns, and dill. I made a "starter" with the cultures from 3 different kombucha bottles. I'm going to let this do its thing for a day or two, then sprinkle in a little CBC-1 bottling yeast to help finish it out.

I was in the middle of the boil when Lisa walked in the door- perfect timing. She yelled "divorce before marriage!" as it has become tradition when discussing pickle beer. After a small complaint about me actually making a pickle beer, I said she'll feel better about it after she tries a pickle beer. "Oh that's an old wives' tale!" she responded.

"No, its a New Husbands' tale" 

Onto the pictures and recipe:

Finished boil

Used for culture to ferment

Just enough for a 2 liter batch


Divorce Before Marriage Gose

2 Liters of water (its a small batch)

145 g pale malt extract

35 g sugar

3 Tsp Himalayan salt

1/2 Tsp pepper corns

3 sprigs of dill

Kombucha culture- or a lacto culture

OG: 1.05

Cricket Bat to the Face Scotch Ale

Years ago when I started brewing, I'd always take a few bottles over to my parents' house. This continued when  I moved away. My Mom doesn't drink beer and Dad sticks to his Labatt, though Dad would occasionally try to pawn my beers off on his friends.

That second hand feedback was always funny: "Why would you do that?" "Why does this taste like motor oil?" "Can I run my car on this beer?"

I did make some heavier beers back then. A lot of them sat around either in the basement from Christmas stashes, or in the beer fridge in their garage. Between random bottles left over at my parents and six packs that sat in my closet for a while, I discovered a beer that I would call my one true house beer.

Cricket Bat to the Face Scotch Ale.

The first incarnation of this was brewed back in September 2010. I remember it being a bit harsh to drink when I cracked the first few open around Halloween. I was, and still am, a big fan of Shaun of the Dead, which I may or may not have been watching while drinking said beer. Hence it's name. 

A few went up to my parents during the holidays, and a few got buried in my closet while I was brewing other beers. Come March 2011, my birthday rolled around and I started digging through my bottle collection to drink. Stumbled across a few remaining scotch ales and decided to go with it. And WOW! 

Over the six months it spent conditioning in the bottle it had turned into this magical drink of honey and sunshine. It was, at that moment in time, the best beer I had made in my brewing career (which was maybe two and a half years). I decided at that moment that I needed to make it again. A tradition was born. 

Every year in September I brew the beer to be ready for my birthday in March. I use each subsequent yeast generation on the next batch. Each batch is aged on scotch-soaked oak, which tends to change with what ever is in my bar at the time. Because of all of that, mixing up some specialty grains during the extract period, moving to different locations, water, the weather, and everything, each year has been vastly different. 

2011 didn't have the bright honey notes, but was a nice mellow ale. 2012 ended up having a few fusel notes that never faded, which I didn't realize until I compared it to the 2013 vintage at my last birthday party. The 2013 again had a nice oak character with mellow malts, but was still a big, full-bodied beer. 

In 2014, I stopped brewing extract and moved to full grain brewing. The 2014 Vintage CBTTF was the first iteration brewed all grain. It was also the first batch of my scotch ale to be kegged (we ran out of bottles). 

Today the keg was tapped. 

It pours a deep reddish brown with a decent head that dissipates after a minute or so.  It smells oaky with a little burnt caramel. When it warms up a little you can smell a bit of the alcohol.  There's a nice smooth caramel malt upfront that starts to get a little smokey with a noticeable oak but not quite peaty finish. The body is light which makes it very easy to drink- except it is 13.1% ABV.

I must say that it is far removed from the memory of the first "vintage," but it is mine. This is my birthday beer and I wouldn't have it any other way. The six month wait is always worth it. Hanging on to previous bottles and being able to do vertical tastings has really opened my eyes to how far I've come as a brewer. While I have never brewed anything besides the scotch ale with my house yeast, I think I'm going to build up a large batch soon to experiment with. 

Prost! Salud! Santé! カンパイ! Cheers! Here's to another year of brewing and life! 


Cricket Bat to the Face Scotch Ale 2014 vintage

  • 10lbs marris otter

  • 13 lbs 2 row

  • 1lb carapils

  • 2lbs crysal 40

  • .5lb white wheat

  • .5lb smoked malt

  • 2 oz Willamette for 60 minutes

  • Edinburgh Yeast or any malt forward yeast (2014 was brewed with gen. 5 house yeast)

The start of sour beers

Discovery

A few years back my brother and I made a trip out to California to visit our cousin. Our cousin decided to ruin us forever with the introduction to Russian River. We had heard of the beers and the brewery before, very few people haven't, but the brewery floored us. There was nothing like this beer near where we lived, especially the line of sours. I picked up a few bottles from Russian River and a few other breweries in the area before flying back to the east coast. 

Back on the east coast, Lisa and I brewed a nice golden saison that finished up in primary. Before kegging I separated a gallon to inoculate with dregs from Almanac Farmer's Reserve 3. This small batch sat in a closet for a while, mostly forgotten about  which is a major part of the souring process. Out of sight and out of mind makes the sour beer less painful to wait for while the magic happens. Just make sure your airlocks stay full.

I reached out to Almanac to ask them about making one of the most tart beers I had the pleasure of drinking, Jesse Friedman responded:

The yeast character comes from a cocktail of wild bugs, using lactobacillus, pedio, brett and brewers yeast. We had several different strains in different barrels that we blended together to make the final product.

It won’t be quite the same, but if you wanted to try to make something like it at home, this would be a good starting point: http://www.themadfermentationist.com/2009/11/brewing-sour-beer-at-home.html

thanks!

- Jesse

The way I framed my question I only asked about yeast. I had read Michael Tonsmeire's blog, The Mad Fermentationist, before and knew a bit about mixed fermentation for sour beers. I should have asked more about their souring process, as that is typically more important than the yeast used to make the base beer. This email was from 2013, in 2014 Tonsmeire published American Sour Beers which I highly recommend reading if you are going to start making sour beers.

This first sour beer of ours sat for 6 months before being sampled and bottled. It was completely different than the clean counterpart it originated from. Lighter in body and more effervescent with just enough acidity to give it a little tart edge. Those notes were from the first month or two after bottling, 6 months later the brett has taken over and its transformed again with more earthy tones not present before. 

Pipeline

Living on the opposite coast from Russian River makes it a little difficult to procure their beers in an easy way. Brewing challenges are fun and definitely interesting. The start of my sour pipeline began with a clone of Russian River's Consecration. This was a proper 5 gallon batch instead of a single gallon.  It had to endure a cramped tiny apartment with little temperature control, a mid summer move, and even more time to reach its desired flavor profile. 

RUSSIAN RIVER LEFT, MY CLONE RIGHT

RUSSIAN RIVER LEFT, MY CLONE RIGHT

It took almost a year and a half grain to bottle, but it was certainly worth it. Russian River's has a much more assertive sour bite where as mine was a little more mellow and not nearly as carbonated. If and when I brew this again I think I will add specific bugs instead of waiting on Roeselare to finally get around to souring. 

The continuation of the sour pipeline began as left over wort turned experiment. We created what I call "The Intergalactic Mother Funk." It was a few left over vials from the fridge as well as dregs from almost every sour beer we've had over the past year or so. Inspired by Sam Adams barrel room program, this new house culture has become the engine of the sour funk program. We have a few beers going now from this process which I will cover later when Volume 1: Variations on Red finishes carbonating and gets reviewed.


Saison du Sexy

Simple saison great as it is and a fantastic base for souring

10lbs pils

2lbs 2 row

1 oz st golding (celeian) 60min

1oz willamette 2 min

Belgian saison III WLP585


OG: 1.05

FG: 1.004

Abv: 6

IBU:16

Old World Mashing

Lisa and I began brewing separately, but both of us began with extract batches of beer. Over the years, our process has changed to an all grain set-up.  We currently have a 10 gallon cooler for a mash tun, a 10 gallon kettle, and a Blichmann burner. A simple set up, but not always simple beers.

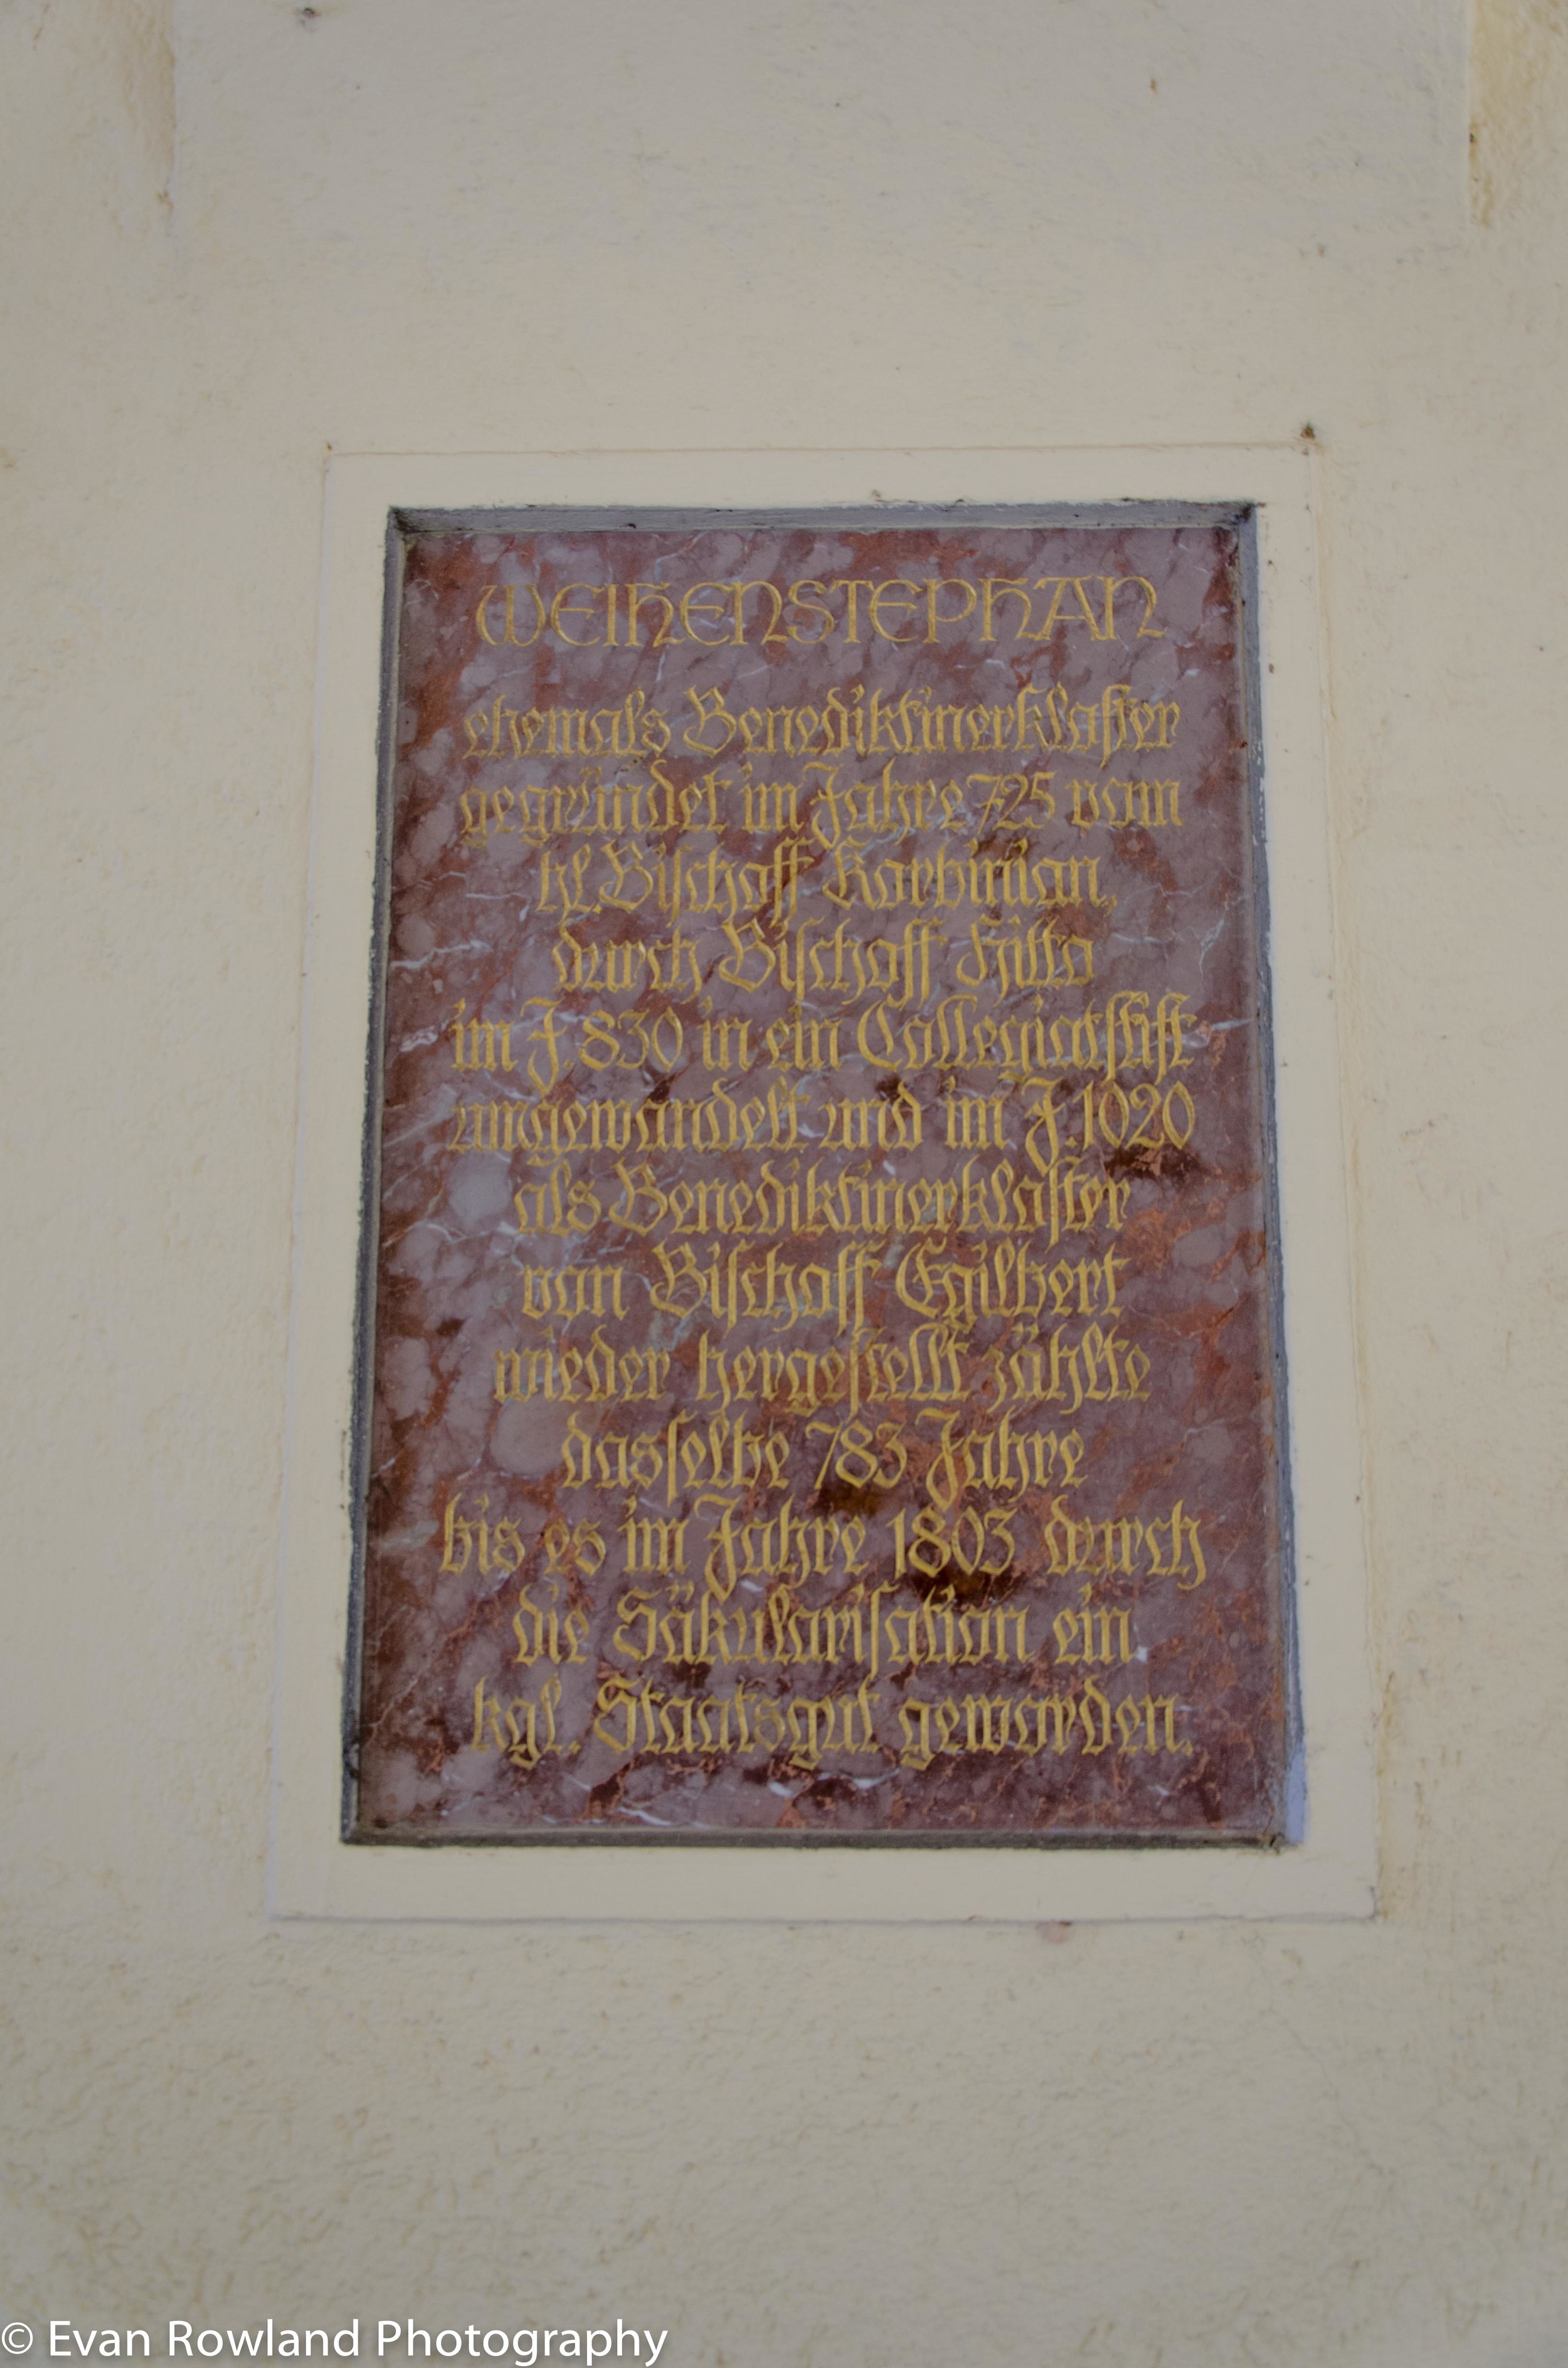
Lisa and I had the great pleasure of attending Oktoberfest this year, and while in Munich managed to tour the oldest brewery in the world, Bayerische Staatsbrauerei Weihenstephan.

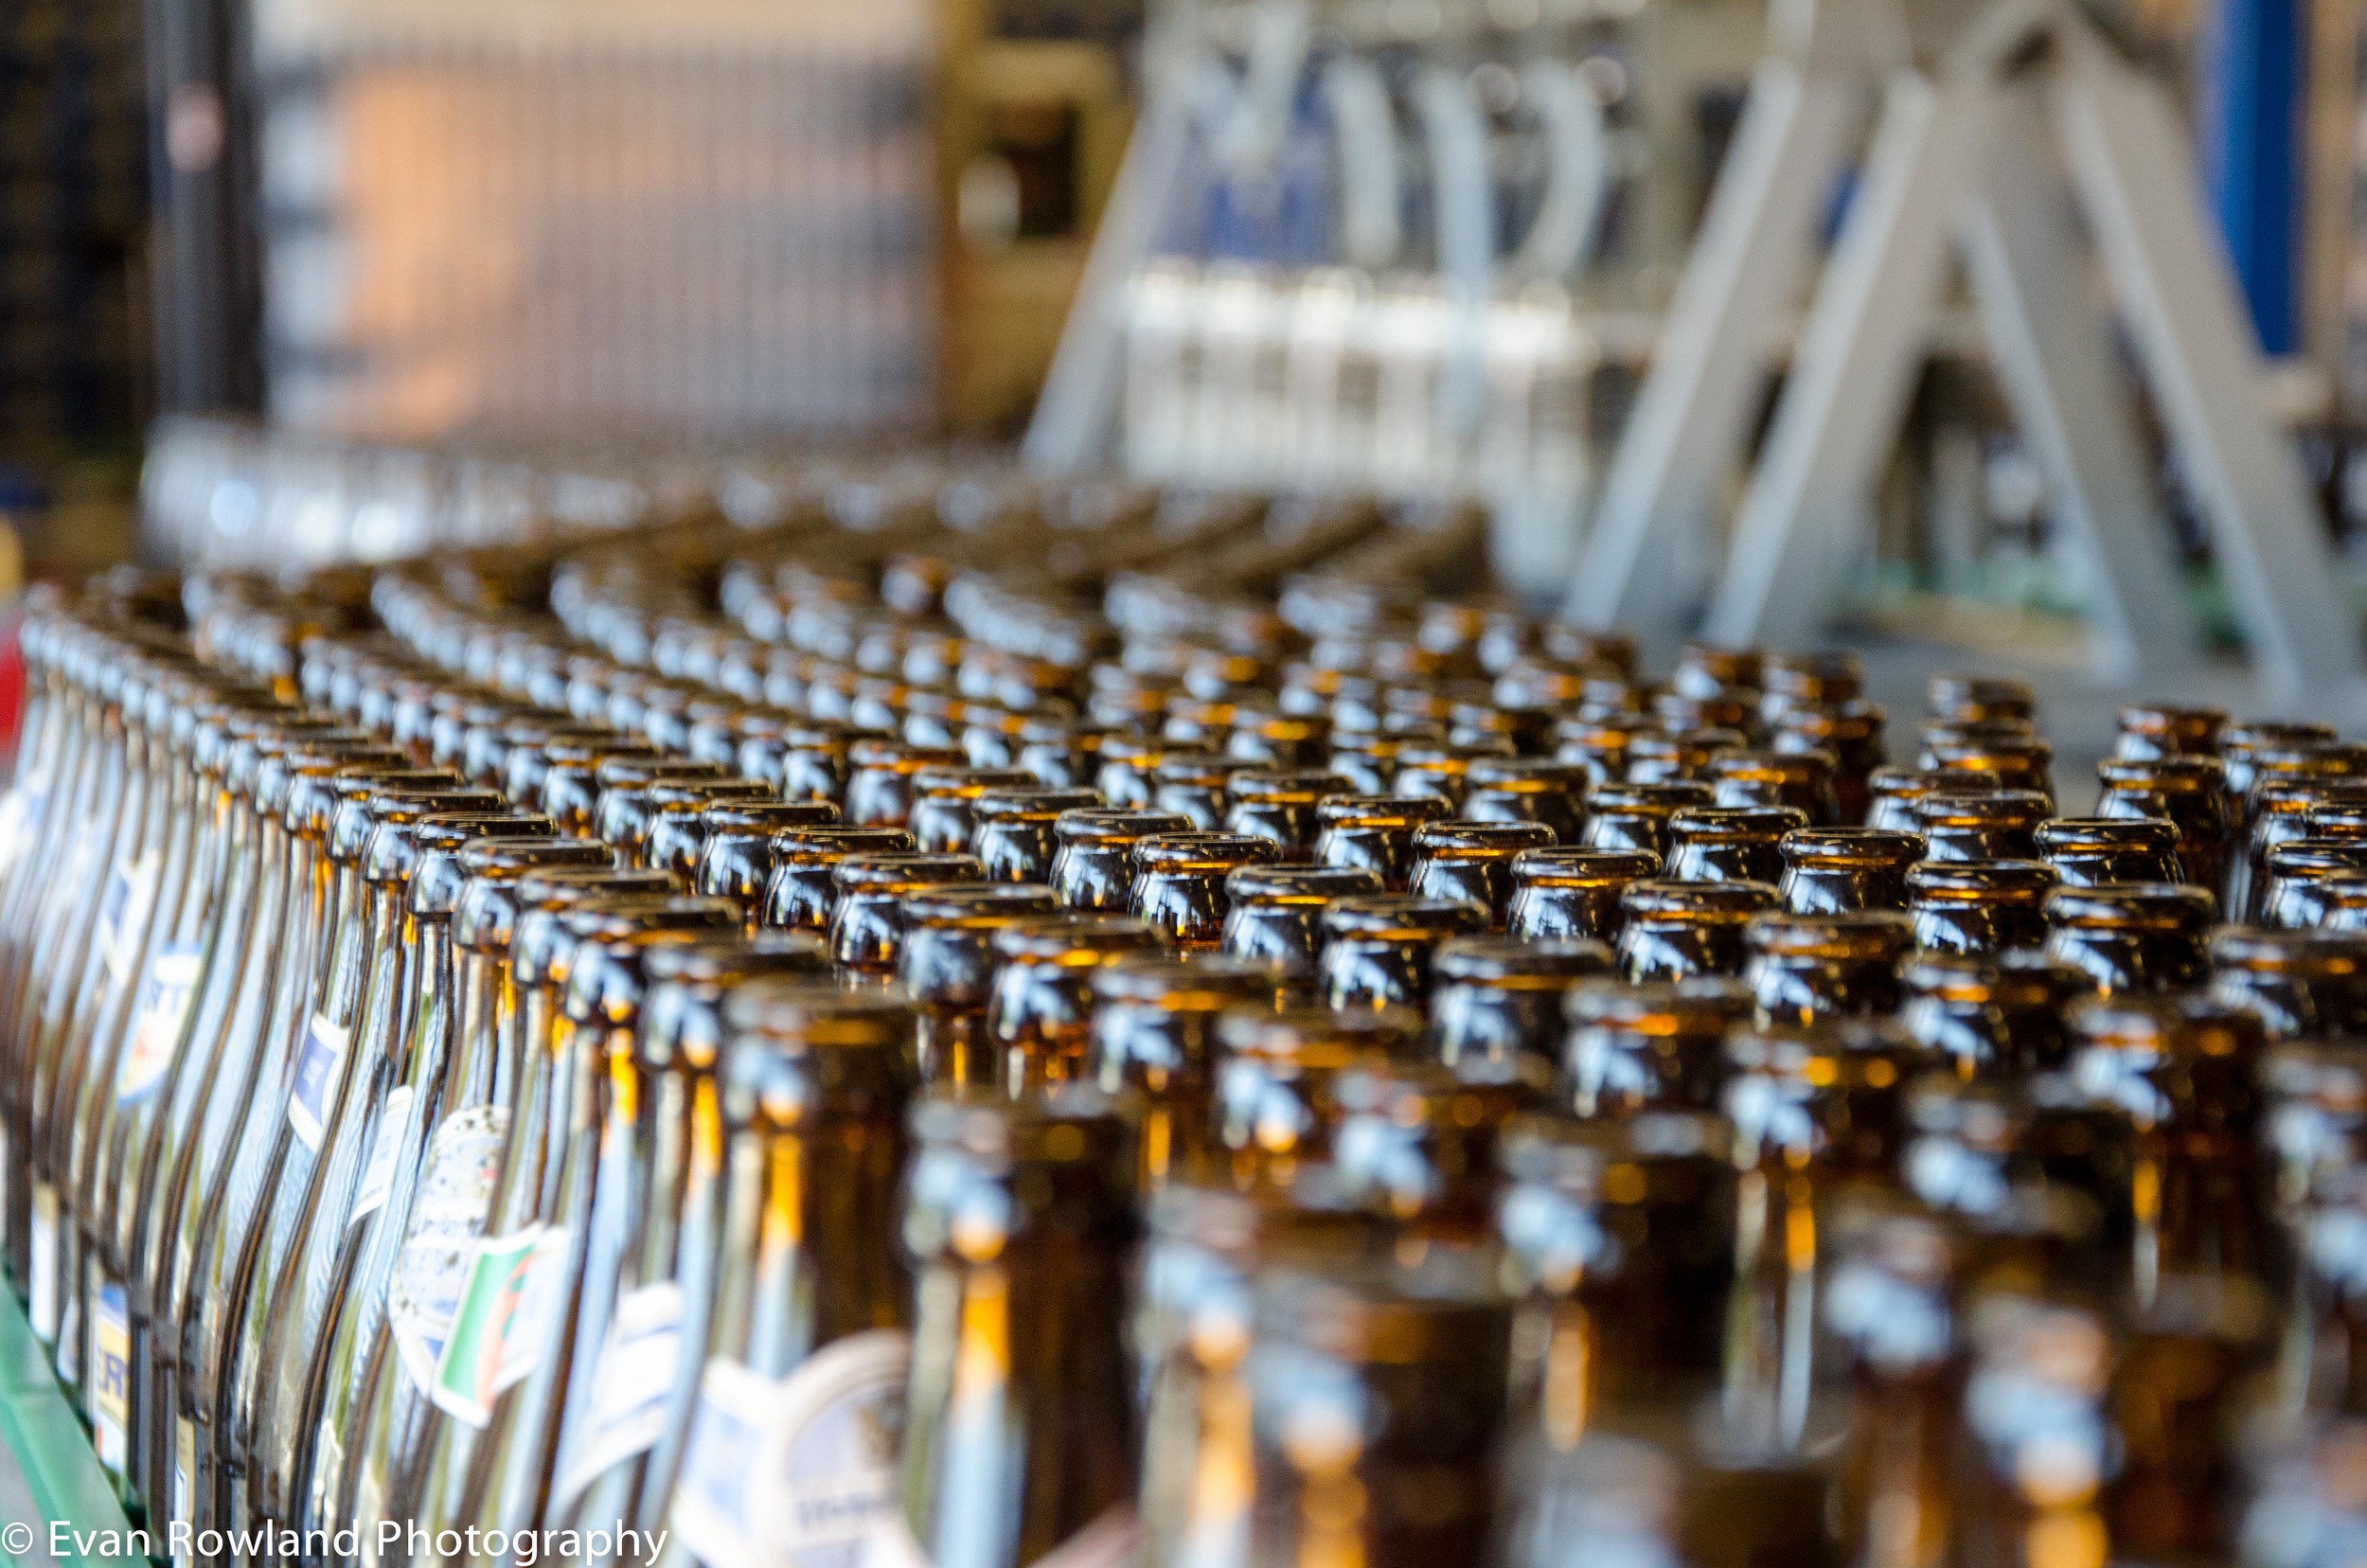
Located just north of Munich in Freising, a quick metro ride away, Weihenstephan was easily the most informative brewery tour I have ever been on. One of our guides, Per, the man in the yellow vest pictured above, had been working at the brewery for a while and is going to school to be a Master Brewer. The school is conveniently located at the Weihenstephan complex, right next to the brewery. The guided tour is very open to pictures and Per said they really don't have any secrets. The most interesting thing we learned was that they decoction mash everything in their line of beers. Decoction mashing is taking a portion of your grains, boiling them, and adding them back to the main mash to reach the next temperature step. Originally this was done because grains of yesteryear were lacking in quality and this was a way to extract more sugar. However, modern grains are of higher quality, and typically this type of mash isn't required anymore.

On a homebrew scale this means that your brew day will be much longer than normal. I want to say there is a diminishing return on decoction mashing. I wouldn't mash this way for every single beer we make, but it does help produce nice results. Our second annibeersary was an Oktoberfest beer made by decoction mashing. I'd say it was one of our best beers ever and very similar to the german beers we were drinking there.

Inspired again by Weihenstephaner I am brewing a hefeweizen (full recipe below). Braukaiser has a fantastic write up on decoction mashing here. I mashed in low, around 100, for the acid rest. Pulled the first thick mash to boil and bring the main mash up to 138 for the protein rest. Pulled another thick mash for the saccrification rest at 148 and 158. Using a thin decoction to hit 168 and mash out. Before even getting to the boil my brew day is already 3 hours longer than a normal brew. Some things cannot be rushed.

It will cool overnight in the fermentation chamber while the yeast starter picks up. Aiming for a more banana than clove beer we plan on fermenting it open, with cheese cloth covering it. We'll have a review up once its done!


Hefeweizen

7 lbs Wheat malt

3 lbs Pilsner 

Wyeast 3068 Weihenstephaner Weizen

.5 oz Hallertauer for 60 and 20

ABV 5.5%

IBU 12

The Evolution of a Female Homebrewer Pt. 1: From Kits to Recipes

As a woman that brews, you get used to the looks of sheer shock when you share that information, even from men who brew themselves. I suppose we are a rare breed? But I have never been a fan of the shocked reactions or the implicit assumption that always followed the shock that I must only brew because a man introduced me to it. As one old coworker put it when he found out, "Did your boyfriend get you into that?"

But I started when I was single. And I started for the love of beer, and with the hope that I could craft my own versions of the beers I loved. 

My palate has grown over the years, but when I started brewing I was predominately interested in hoppy beers and Belgians. I was absolutely in love with Troeg's Nugget Nectar, Affligem Blond, and every beer made by La Chouffe. But I didn't know anything about anything, so I started with an amber ale kit.

What followed was a mixed bag of trial and error. Some brews were raging successes in all ways, but there were also exploding bottles from too much bottling sugar and batches with off flavors because I had no control of the temperature in my apartment. It was also weird brewing in my apartment at times. There were three of us living in a two bedroom, with the dining room walled off with plywood to make a third bedroom. One of my roommates didn't like beer, didn't understand the appeal of making your own beer, and resented the afternoons I took control of the kitchen to brew. Sure, I made a huge mess at times, but I always cleaned it up and I liked the way our entire apartment smelled like warm grain when I was through. But there remained a strange tension around it. Once I caught her spraying my fermenting bucket in the communal closet with perfume, even though it had an airlock and didn't smell. After that, I fermented in my bedroom to keep meddling paws away from my beer and dreamed of a time when I'd have my own place where I could brew as much as I pleased. I definitely wasn't going to branch out from extract batches in that situation.

By the time I met Evan, I felt boxed in by kits. I had just moved into my own place, so I finally had the opportunity to branch out. I wanted more control over the beers I made, but I had never made my own recipe. I didn't have the equipment needed to go all grain. And I didn't have any friends who brewed and could give me advice. I began considering braving homebrew events, even though I was nervous about sticking out like a sore thumb as one of the few women in the room. But luckily fate intervened and I met Evan. 

When I first met Evan, I asked a million questions about his brewing process. He was brewing far more interesting beers than me: a peanut butter stout and jelly ale meant to be mixed together like a black and tan and an IPA with an insane amount of hops. When I asked why he put so many hops in the beer, he replied "Why not?" It was such a refreshing attitude about beer. So creative! He was already designing his own recipes and brewing outside of the box in the way I aspired to. 

The first beer I designed was a Nugget IPA. It was an extract brew with Maris Otter, 2 Row, 1 oz Warrior hops and 3 oz of Nugget hops. It turned out well, so I decided to branch out further. My next beer was a not-so-pale IPA with aromatic grains made entirely with Nelson Sauvin hops. Half of the batch was fermented normally, while the other half was fermented in secondary with a hefty amount of pineapple. Evan's creativity in brewing had rubbed off on me. I consider it one of the first major milestones in my evolution as a brewer.


Agent Nelson IPA

Extract recipe for 5 gallons

6.6 lbs Golden Light LME

3.3 lbs Golden Light DME

2 lbs Aromatic Grain

1 oz Nelson at 60

1 oz Nelson at 30

1 oz Nelson at 5

1 oz Nelson at 2

First a bit of history.

I started brewing in 2008 after a friend introduced me to the concept and showed me the kegs of homebrew he and his roommates had. Honestly, I don't remember much of what I tried at his apartment, but the seed was planted. When a technical writing class assignment required me to create a brochure on a process, I chose brewing. Down the rabbit hole I went. It seemed easy enough, and if my friend could do it, why couldn't I? I found some old, unused brewing equipment in my parents' basement, ordered the missing parts and a stout kit, and began. My first brew was a half decent oatmeal stout, although I learned the hard way that plastic miller lite bottles do not make for a great way to age beer. 

Fast forward a few years later: I bring a couple of my homebrews to a housewarming party. My friends hosting the party introduce me to a girl who also brews and who brought a few of her homebrews to the party. I have her try my 50 shades of Greyskull IPA, continuously hopped with a pound of Sorachi Ace in a 5 gallon batch. (See recipe below. She hasn't let me live it down yet). She has me try an amber ale that was made with the wrong yeast. (She wasn't very happy with it.) We hit it off that night, and 3 years later we are still brewing together. During the past three years, our brewing process and beer knowledge has evolved. We've gone from extract batches to all grain, as well as coast to coast and abroad to learn more about beer. I feel we have come leaps and bounds from when we first started brewing together, and even farther from where I started alone. 

That brings us to today: the first of February. We live together now and recently built out our keezer to run 3 taps. The beer garden in our dining room is now open. This month I've decided to challenge myself to only drink alcohol we have made. This shouldn't be a particularly difficult challenge, as we have five kegs partially full of beer and the other half of the keezer filled with various bottles and cans. 


The larger challenge is preparing for the DC Homebrewers Cherry Blossom competition. I am currently fermenting a small batch of a cherry blossom lager, brewed last weekend. Stay tuned: more on the lager and brewing to come soon.

-Evan 


50 Shades of Greyskull IPA (2012)

For using up a remaining pound of hops as well as meeting new people

5 Gallon Batch

13 oz sorachi ace hops leaf, 1 oz every 6 min, 3 oz dry hop

10 lbs 2-row or other base malt (extract: 6 lbs light dry extract)

1 lb cara munich

1 lb carapils

San Diego Super Yeast WLP090 

OG: 1.065

ABV: 6.7 - 7%